Preschool Bumble Bee Craft
Bumble bee craft ideas are always a favorite during spring themes, and this one is simple, hands-on, and preschool-ready. If you’re planning bee activities for preschoolers, this craft fits right in without adding extra prep to your day.
This easy bee craft gives children the chance to practice cutting, gluing, and assembling while creating a cheerful spring project. It works well for insect themes, garden units, or anytime you want a focused fine motor activity that feels fun instead of busy.

Why You’ll Love This Bumblebee Craft
• Easy to prep with basic classroom or home supplies
• Perfect addition to bee activities for preschoolers
• Builds fine motor skills through cutting and gluing
• Works for spring, insect, or garden themes
• Simple enough for centers, small groups, or homeschool
• Creates an engaging finished project that kids are proud to share
Preschool Bumble Bee Craft
If your preschoolers enjoy this great paper bee craft, be sure to share this beehive craft with them, as well. It’ll make a great extension activity for your crafting session.
What You’ll Need
- Glue Stick: An essential for any preschool craft, a glue stick will help all your pieces stick together without the mess of liquid glues.
- Pencil: Handy for drawing outlines or sketching your bumble bee’s parts before you cut them out.
- Black Marker: Perfect for drawing the bee’s eyebrow and smile.
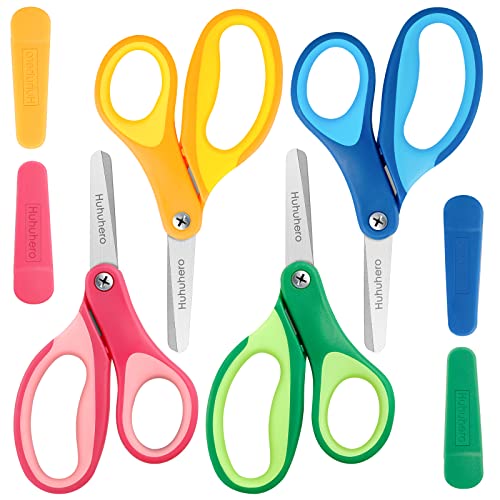
- Scissors: Adult supervision required here! Scissors will be used to cut out the different shapes needed for your bumble bee. Safety scissors are a great choice for little ones learning to cut.
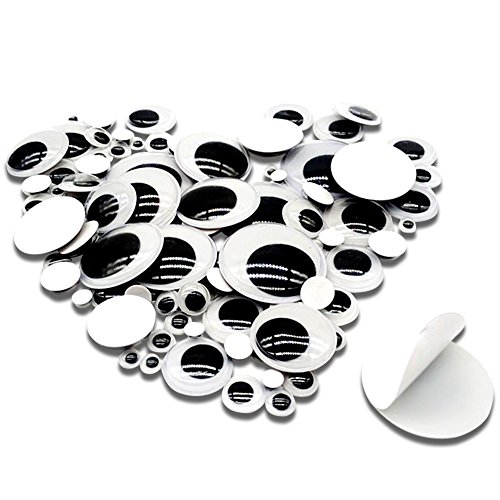
- Googly Eyes: What’s a bumble bee without its eyes? Googly eyes will add a playful touch to your craft, bringing your bee’s character to life.
- Construction Paper: You’ll need yellow, black, and white construction paper for your bumble bee’s body, bee stripes, wings, and other features.
- Craft Stick: This will serve as the base of your bumble bee, giving it a sturdy structure and making it easy to hold and play with.
Gathering your materials is the first step on this creative adventure. Remember, it’s not just about the end product; it’s about the fun, learning, and memories you create along the way.


![GUSTO [100 Count] Jumbo 6 Inch Wooden Multi-Purpose Popsicle Sticks,Craft, ICES, Ice Cream, Wax, Waxing, Tongue Depressor Wood Sticks (Formerly Comfy Package)](https://m.media-amazon.com/images/I/31n5+f37jVL._SL500_.jpg)
What You’ll Do
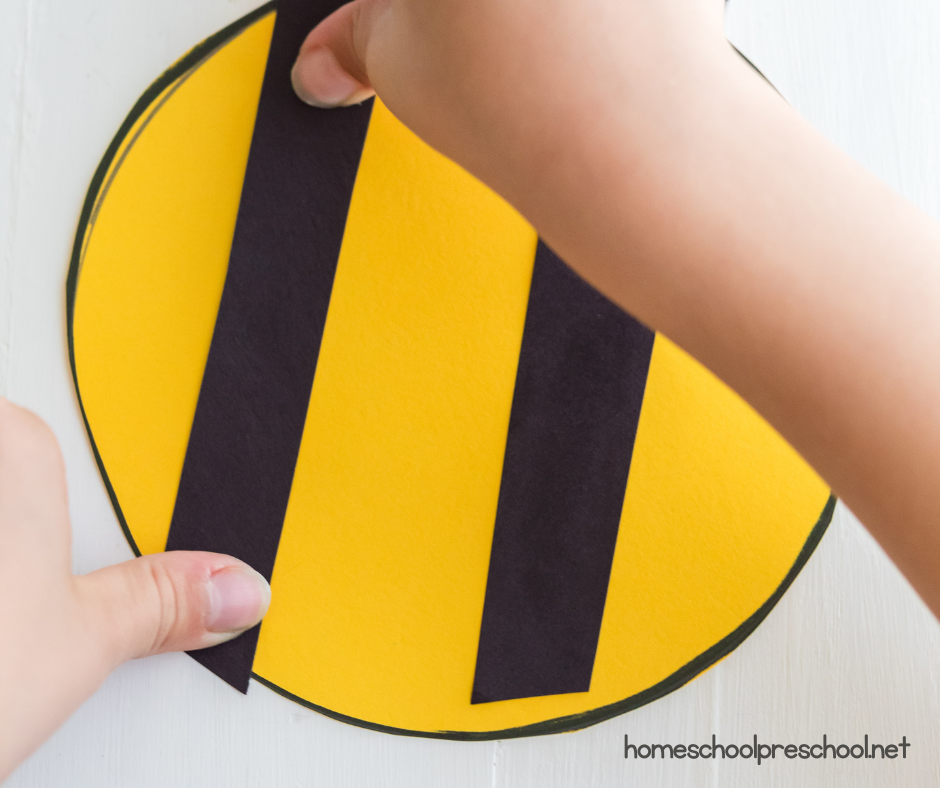
To get started on these cute little bees, begin by cutting a 5 ½ inch circle out of yellow paper for the bumble bee’s body.
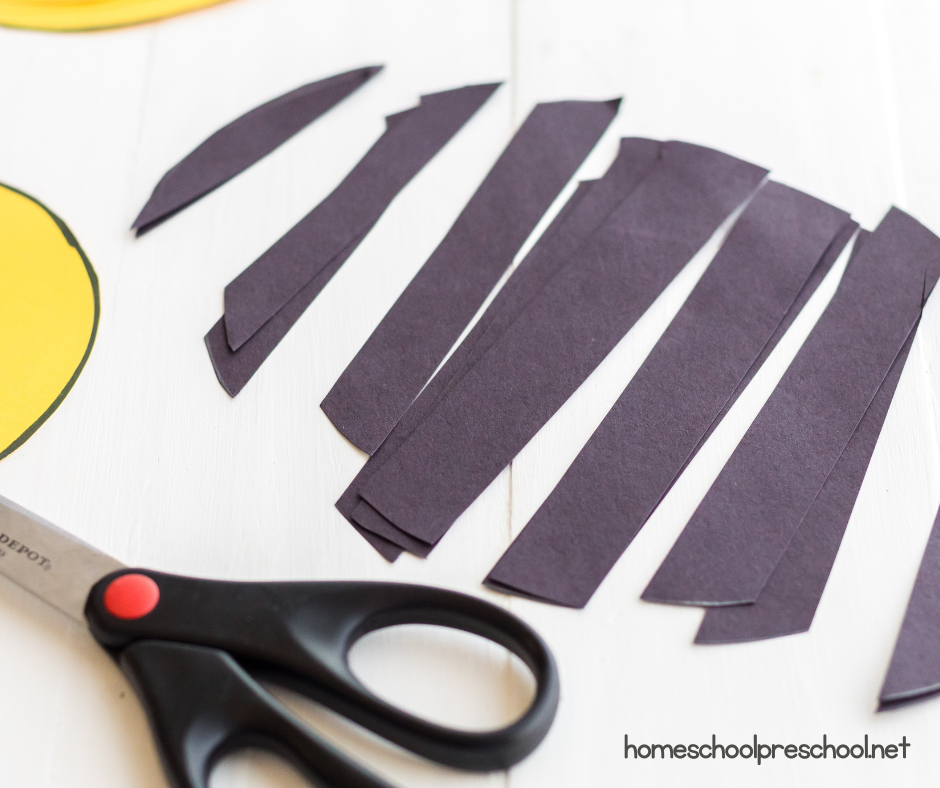
For the bumble bee’s head, cut a 4-inch circle from yellow paper, and for the stripes, cut a 5 ½ inch circle out of black paper.

Next, take the black circle and carefully cut it into thin strips. Set these strips aside for later use.
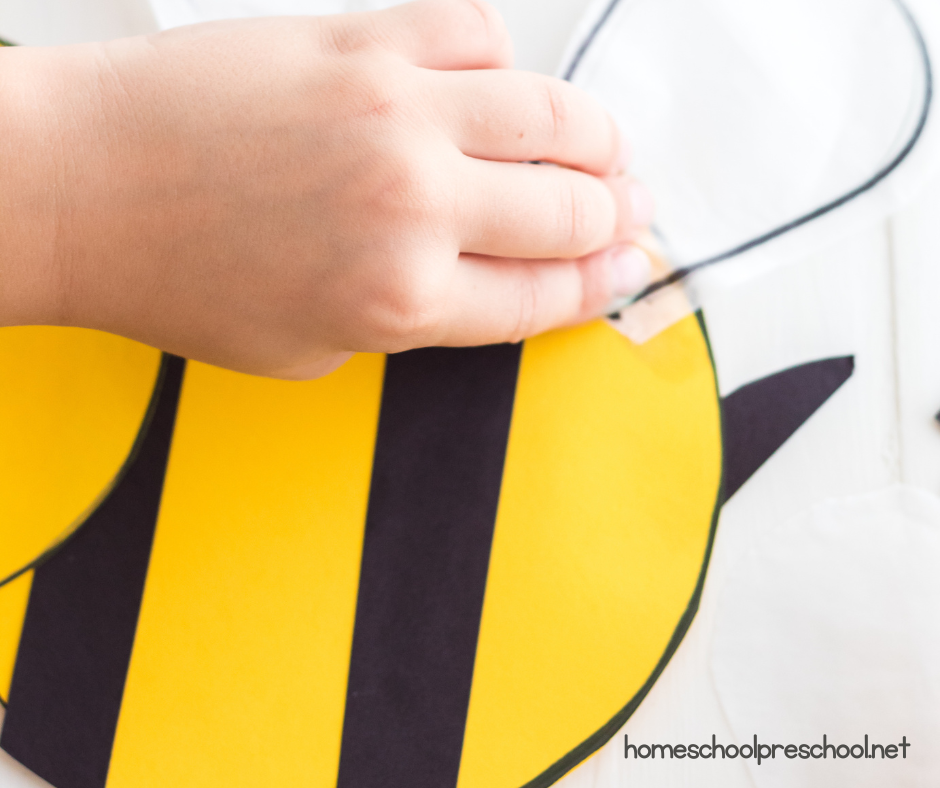
Now, it’s time to start assembling your adorable bumble bees. Begin by attaching 2-3 black stripes onto the bee’s yellow body using glue, and then proceed to attach the head.
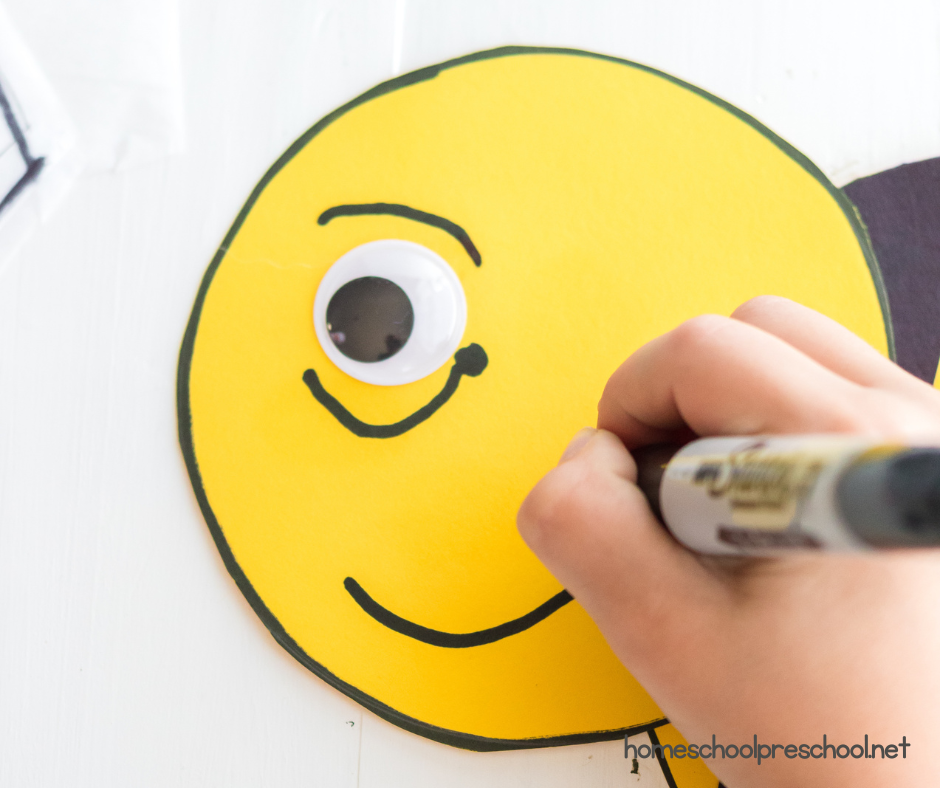
To give your bumble bee some character, glue on an eye and consider drawing on an eyebrow and mouth if you wish.
And of course, don’t forget to include a stinger to complete this simple bee craft.
Glue on an eye, and draw on an eyebrow and mouth, if desired. Don’t forget to add a stinger, as well.

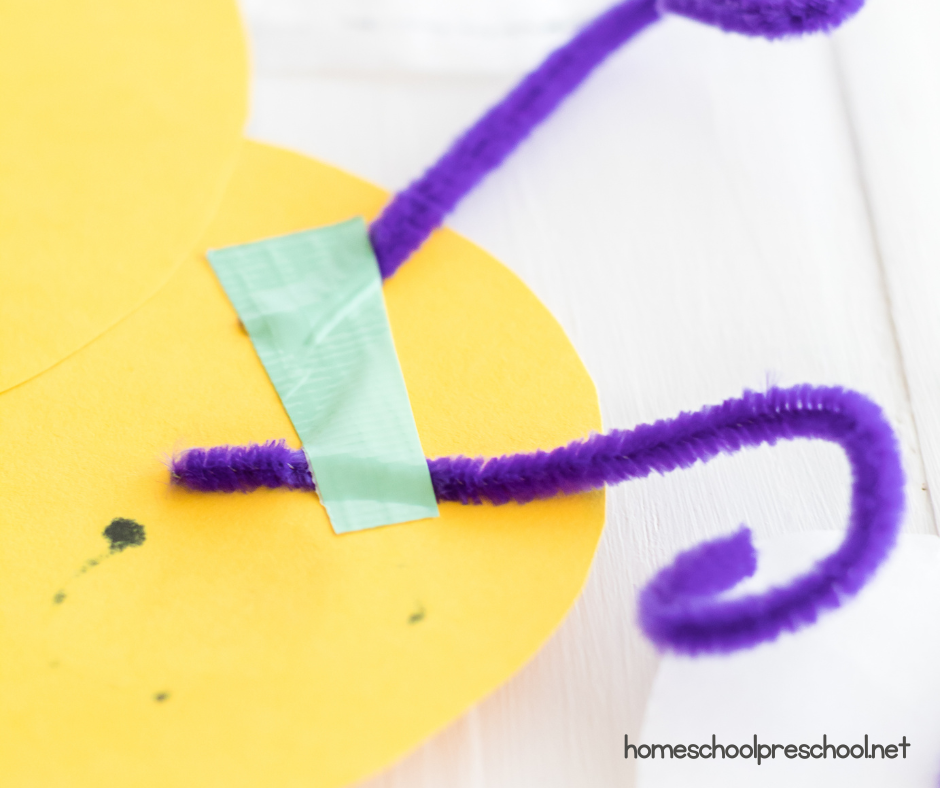
Let the kids pick out black pipe cleaners from a selection of vibrant options for the bee’s antenna, and securely attach it to the back of the bee using tape.
Next, carefully cut out a wing from tissue paper, and carefully attach it to the body with a dab of glue.

To complete this fun craft project, gently insert a popsicle stick into the back of the bee, creating a whimsical and interactive toy for hours of creative play.

What Skills Does This Bumble Bee Craft Build?
This bumble bee craft gives preschoolers purposeful practice while they create.
- Fine motor strength and coordination
- Scissor skills and cutting control
- Hand-eye coordination
- Gluing and spatial awareness
- Following step-by-step directions
- Focus and task completion
It’s a simple craft, but it supports the foundational skills preschoolers need for writing, independence, and classroom readiness.

Bee Ideas for Kids
If your children love this bumblebee craft, you can easily build a full bee theme around it.
More Bee Crafts
- Paper Plate Bee Craft
- Toilet Paper Roll Bee Craft
- Bee Finger Puppet
- Handprint Bee Craft
- Egg Carton Bees
- Paper Weave Bumble Bee
- Paper Bee Craft
Bee Music and Dance
- Listen to “Flight of the Bumblebee” and move like buzzing bees
- Practice slow vs. fast movement to match the music
Hands-On Exploration
- Taste different types of honey
- Build a simple DIY bee hotel to support pollinators
FAQs About Our Bumble Bee Craft
This bumble bee craft is ideal for preschoolers aged 3 to 5. The steps are simple, and with adult supervision, even younger children can enjoy the activity.
You’ll need yellow, black, and white construction paper, a glue stick, pencil, black marker, scissors, googly eyes, a craft stick, tissue paper, and black pipe cleaners.
Absolutely! If you don’t have certain items, feel free to substitute. For example, you can use colored paper instead of construction paper or draw the eyes instead of using googly eyes.

This bumble bee craft is a simple way to bring a spring or insect theme to life while strengthening important preschool skills. With just a few basic supplies, you can turn cutting and gluing practice into a focused, hands-on activity that children truly enjoy.
If you’re planning more bee activities for preschoolers, this craft makes an easy starting point. Add a few themed books, a life cycle activity, or another bee art project, and you’ll have a complete, engaging week of learning ready to go.
Preschool Bumble Bee Craft
Equipment
- • glue stick
- Pencil
- black marker
- Scissors
Materials
- googly eyes
- construction paper
- craft stick
Instructions
- To kick off your delightful bumble bee creation, start with shaping the bee's plump body by snipping out a 5 ½ inch circle from sunny yellow paper.
- For its charming little head, fashion a 4-inch circle from the same yellow paper.
- To craft the bee's iconic stripes, slice a 5 ½ inch circle from ebony paper into slender bands, setting them aside for the moment.
- The fun really begins as you start to piece your bee together. First, adhere 2-3 black stripes onto its yellow torso with a bit of glue, then lovingly attach its head.
- For a dash of personality, affix an eye and, if you’re feeling artistic, sketch a friendly eyebrow and a smile.
- A crucial touch is the stinger, ensuring your bee looks the part.
- Choose a black pipe cleaner for the antenna, and tape it securely at the rear.
- Create delicate wings from tissue paper, affixing them gently with glue.
- The final flourish? Insert a popsicle stick at the back, transforming your craft into a whimsical, fluttering friend ready for imaginative adventures.

Tara is the brains behind Homeschool Preschool, where her journey from preschool and public school teacher to homeschooling mom of three fuels her passion for early childhood education. With a blend of expertise and firsthand experience, Tara’s writings offer practical tips and engaging resources to support families in creating meaningful learning adventures at home.


One Comment