Paper Plate Dinosaur
Not only is this paper plate dinosaur craft easy to make, but it also provides valuable learning opportunities for dinosaur-loving kids, such as fine motor skills, color recognition, and creative expression.
This dinosaur activity is so much fun for your little ones! Add it to your dinosaur activities for preschoolers.

Paper Plate Dinosaur Craft
Dive into the prehistoric era and unleash your creativity with this paper plate dinosaur craft.
This easy-to-follow and fun activity is perfect for young learners, helping them bring their favorite dinosaur to life.
Let’s grab some basic craft materials and embark on a Jurassic journey!
Supplies List
- colorful paper plates (we used tie-dyed plates)
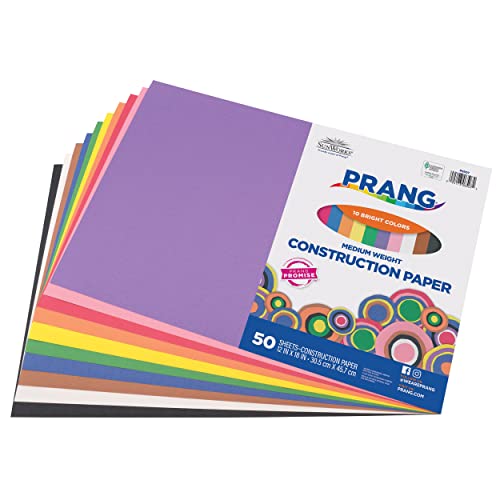
- construction paper or card stock
- toilet paper roll
- acrylic paint
- glue stick
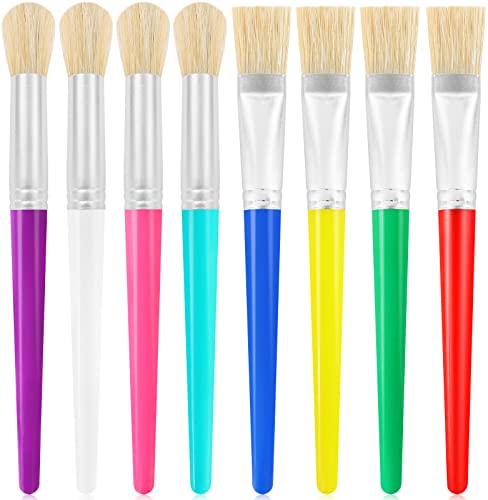
- paint brushes
- scissors
- black marker


![Crayola Washable Kids Paint Set (12 Ct), Classic and Glitter Paint for Kids, Arts & Craft Supplies for Classrooms, Back to School [Amazon Exclusive]](https://m.media-amazon.com/images/I/51KPJWkf12L._SL500_.jpg)
What You’ll Do
Now that we have our materials ready, let’s jump right into the process. This step-by-step guide will walk you through helping your preschoolers make their very own easy dinosaur craft.
Don’t worry, we’ve made sure to keep it simple and easy for our young paleontologists. Let’s get crafting!
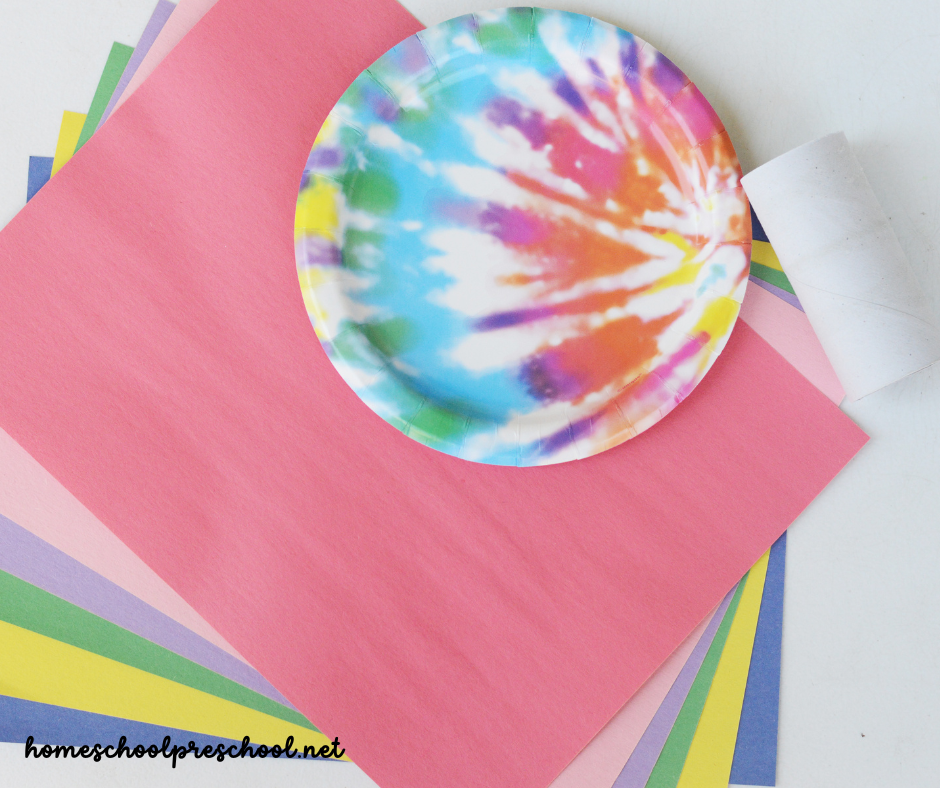
Prepare Your Materials: Gather all your craft supplies in one place. Ensure you have your colorful paper plates, construction paper, toilet paper tubes, paint, glue, paint brushes, scissors, and markers ready.
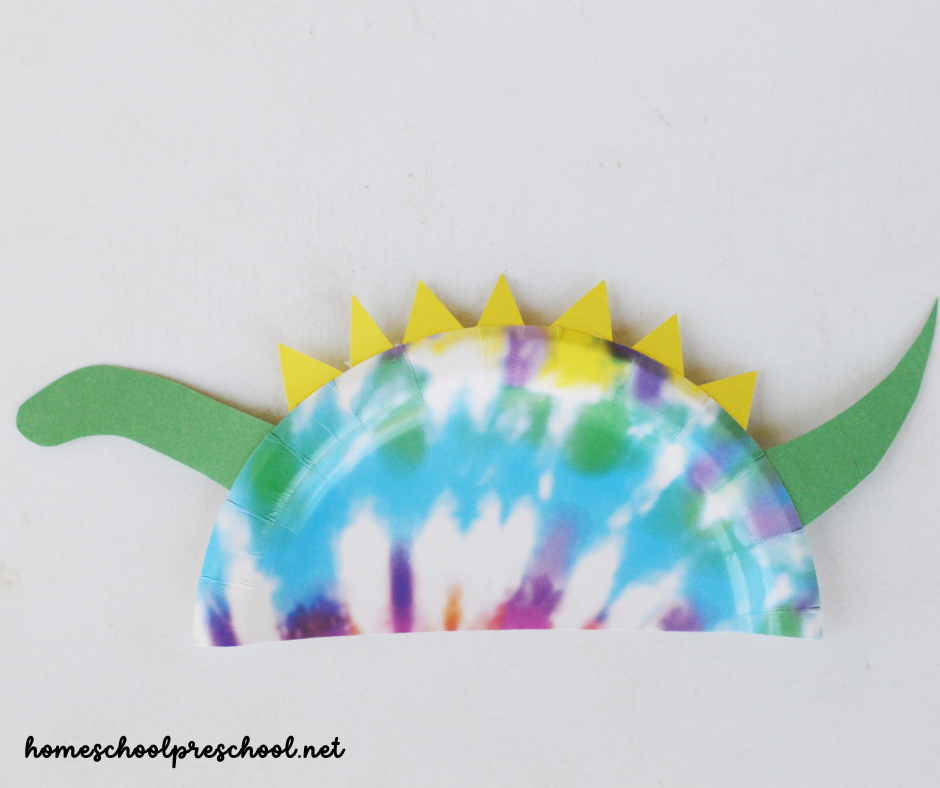
Make the Body of the Dinosaur: Cut a colorful paper plate in half. This will serve as the dino body.
Create the Head and Tail: From a coordinating sheet of construction paper, cut out a shape for the head of the dinosaur and a long tail. Use your creativity here; dinosaurs come in all shapes and sizes!
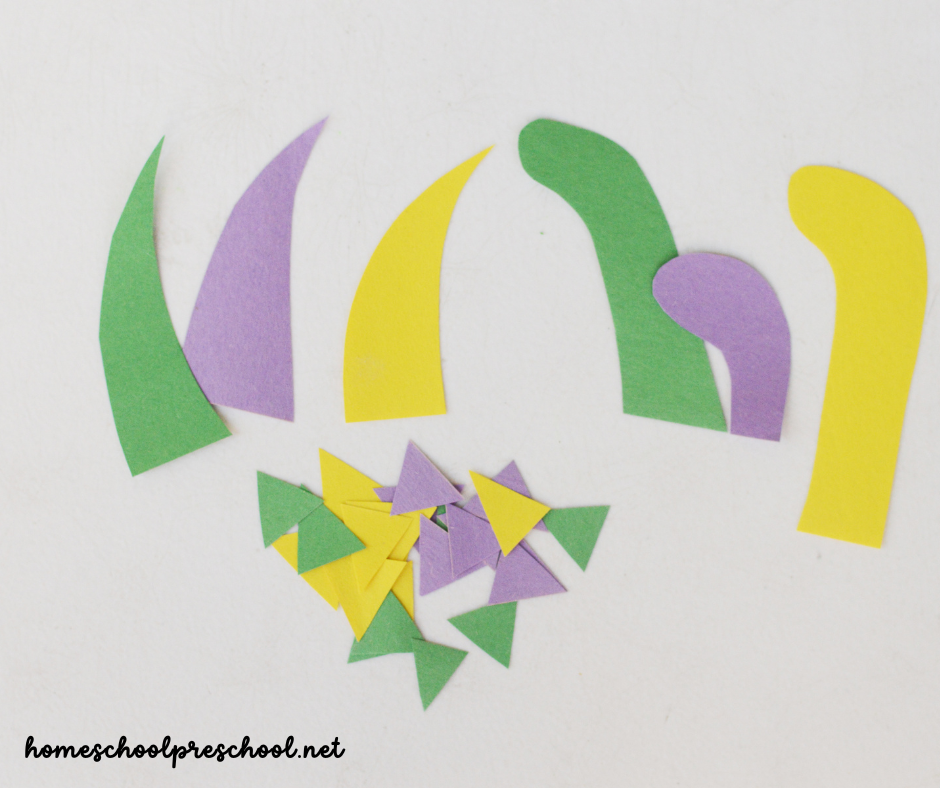
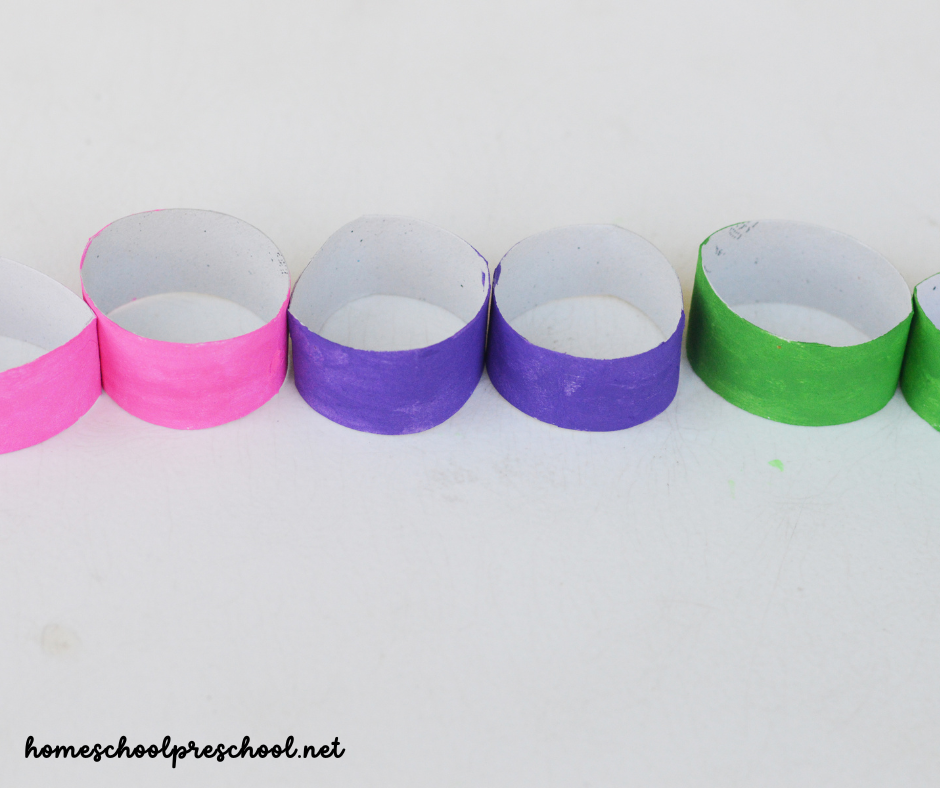
Form the Legs: Next, cut the toilet paper tubes into four equal parts to form the dinosaur’s legs. You can paint these in a color of your choice.
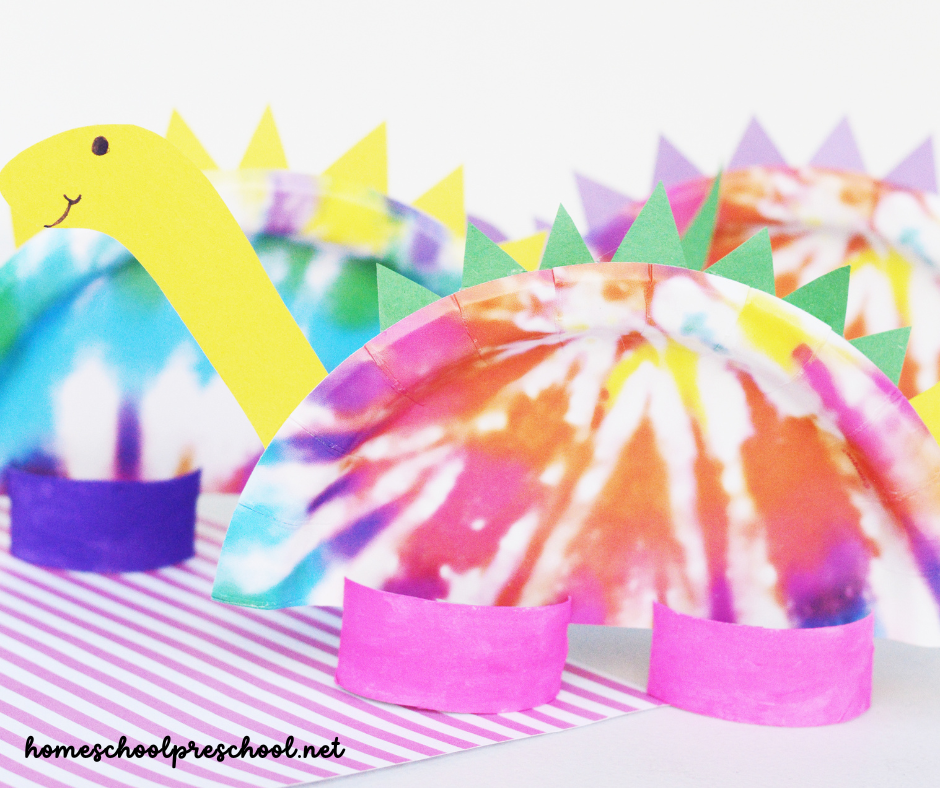
Assemble Your Dinosaur: Now it’s time to assemble your dinosaur. Using the glue, attach the head and tail pieces to the paper plate body. Next, glue the toilet paper tube pieces to the underside of the plate to form the legs.
Add Features: Use the marker to draw eyes for your dinosaur. You can also use the marker to draw a little smile.
Decorate: Finally, let your creativity shine and decorate your dinosaur as you wish. You can add spots, stripes, or any other patterns using paint or markers.
Congratulations! You’ve just created your very own easy paper plate dinosaur craft. Repeat these steps to create a whole family of colorful paper plate dinosaurs!
Learning Opportunities
Creating a paper plate dinosaur craft is not only a fun activity, but also teeming with valuable learning opportunities. As your child explores the world of dinosaurs, you can introduce them to basic concepts of Paleontology, igniting curiosity about prehistoric times. This craft also offers a wonderful platform to practice recognition and naming of colors as they choose vibrant hues to bring their dinosaur to life.
Using different shapes for various parts of the dinosaur, such as circles for eyes and triangles for spikes, can bolster understanding of basic geometric figures. Encourage the youngsters to count the spikes on the dinosaur’s back or the spots you’ve added, subtly integrating numerical concepts into this creative journey.
To foster language skills, engage in open-ended discussions about the dinosaur they are creating. Ask what type it is, what it eats, where it lives, and other imaginative questions that might prompt creative thinking and storytelling. Remember, the aim is to make learning a byproduct of this exciting adventure, so keep the atmosphere light, interactive, and most importantly, fun!
More Dinosaur Ideas to Try
Discover a world of creativity with more dinosaur-themed activities. In addition to this fun dinosaur craft, your kids will love making dino fossils, exploring dinosaur shapes, and more.
Let’s explore some additional ideas for you to try and continue your prehistoric adventure.

Unleashing your creativity with these dinosaur-themed activities can be a perfect bonding time with your younger kids, cultivating both fun and education.
Remember, it’s not just about the end product; each step of the process holds its own learning opportunity. So, go ahead and create, learn, and, most importantly, have a blast with this fun paper plate craft.
Happy crafting!

Tara is the brains behind Homeschool Preschool, where her journey from preschool and public school teacher to homeschooling mom of three fuels her passion for early childhood education. With a blend of expertise and firsthand experience, Tara’s writings offer practical tips and engaging resources to support families in creating meaningful learning adventures at home.


