Fork-Painted Bear Craft
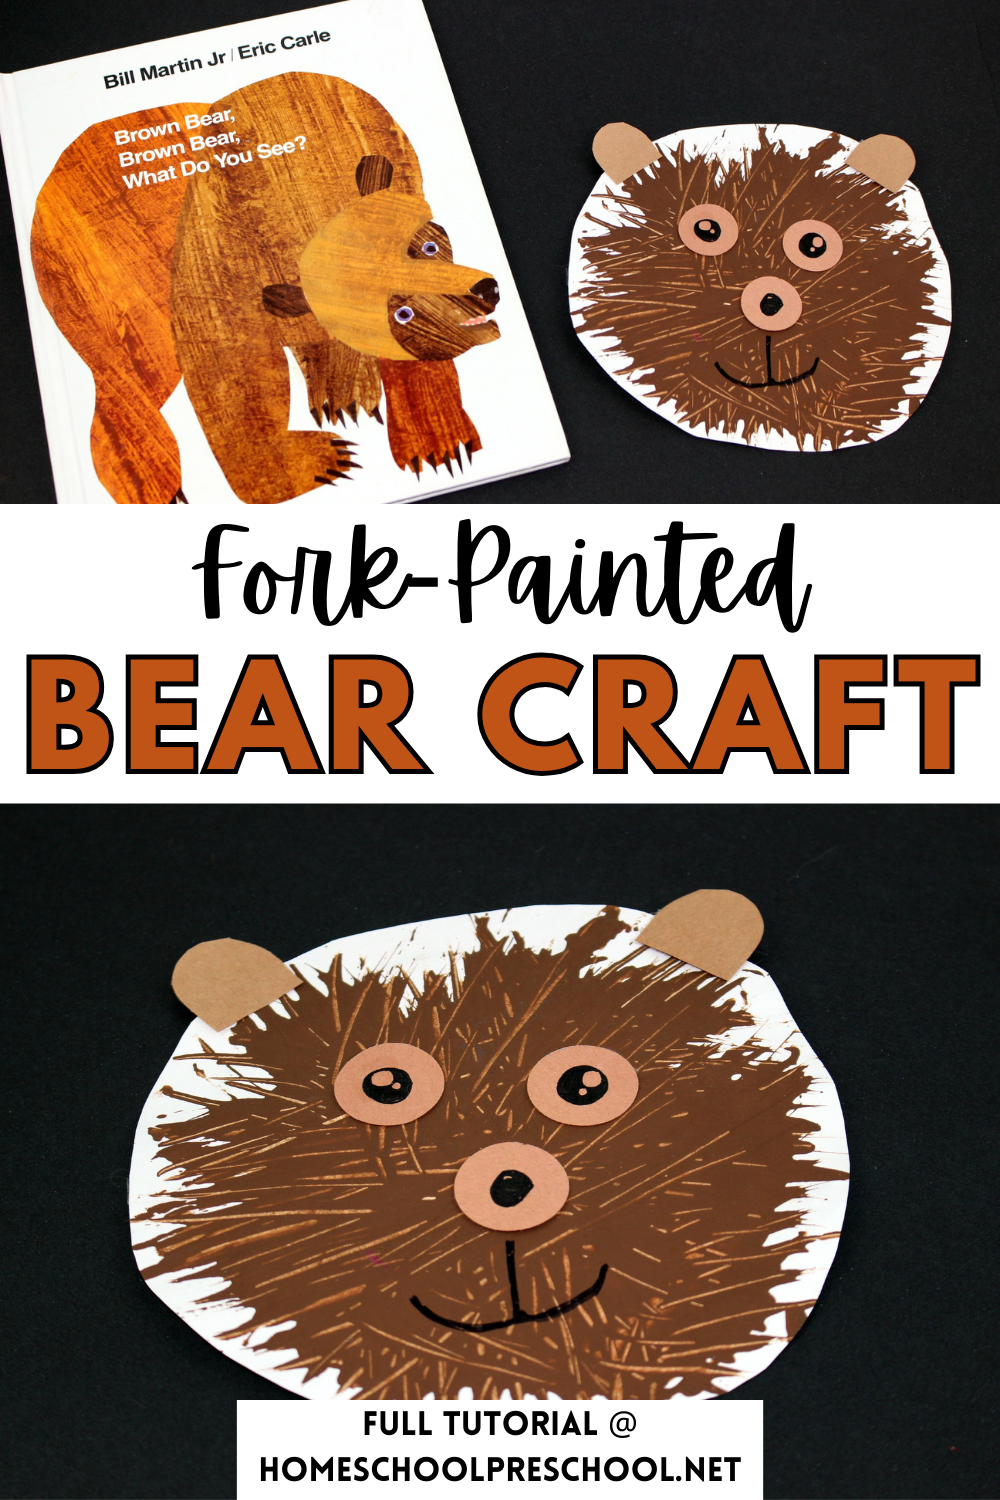
Have you ever tried a fork painted bear craft? It’s a fun, innovative way to engage little ones in art, making it a perfect addition to your repertoire of preschool crafts.
This unique activity not only sparks creativity but also helps in the development of fine motor skills. Using something as simple as a fork to paint may seem unconventional, yet it results in beautiful textures that bring our furry friends to life on paper.
Ideal for parents, teachers, or anyone working with young children, this craft transforms ordinary art sessions into extraordinary adventures. Plus, it’s a great way to repurpose everyday household items for educational play.
Join us as we explore how to create these adorable bear artworks, ensuring your little artist is both entertained and learning new skills.
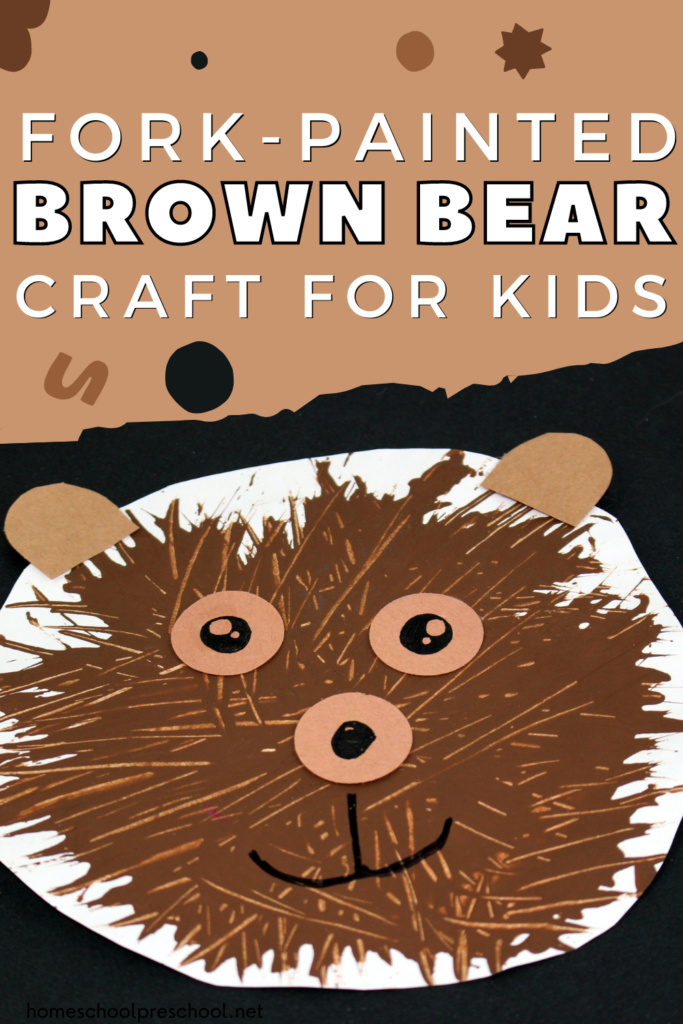
Teaching preschoolers about bears can be a delightful and educational experience, blending facts with fun activities. Start by introducing them to different bear species through colorful storybooks or engaging videos, highlighting their habitats, diets, and unique characteristics.
You can enhance this learning experience by incorporating bear-themed songs, games, and puzzles that stimulate their curiosity and love for animals.
Remember to tailor your approach to be age-appropriate, focusing on the fascinating aspects of bears that capture the young imagination.
This thematic exploration not only broadens their knowledge about wildlife but also nurtures a sense of empathy and conservation from a tender age.
By connecting the fork painted bear craft with these educational activities, children can visualize and understand bears in a creative, memorable way.
Fork Painted Bear Craft
In this tutorial, I’m sharing how to make a fun bear craft. But, at the bottom of the post, I’ll share with you how simple it is to make a polar bear, panda bear, and black bear, as well.
What You’ll Need
To get started on your cute bear craft, here’s a list of supplies you’ll need to gather:
Paper Plate: This will serve as the canvas for your bear creation. A simple, sturdy paper plate is perfect for holding paint and adding durability to your craft.
Construction Paper: Grab some brown (and black and white if you’re making a panda or polar bear) construction paper. This will be used for additional bear features like ears and snouts.
Washable Paint: Brown paint is essential for a classic bear, but feel free to include black and white for those polar bears and pandas. Washable paints are a great option for easy cleanup!
Googly Eyes: These bring your bear’s face to life with a little spark of personality. It’s amazing how much character googly eyes can add!
Glue Stick: You’ll need this to adhere the construction paper pieces and googly eyes to your paper plate. A glue stick is perfect for little hands to use with ease. You can also use regular school glue, if you’d prefer.
Plastic Fork: Last but certainly not least, the star of the show! A plastic fork will be used instead of a paintbrush, creating unique and interesting textures for your bear’s fur.
Gathering these supplies is the first step in what’s sure to be a delightful crafting session. Each item on the list plays a pivotal role in bringing your fork printing project to life, ensuring an engaging and enjoyable experience for everyone involved.
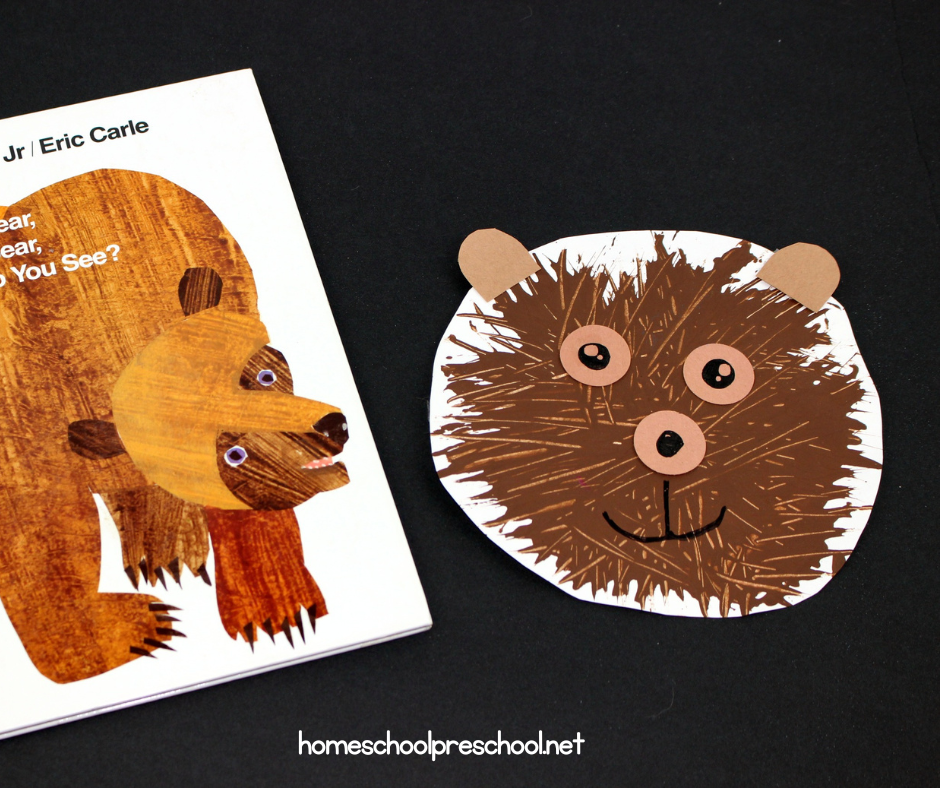
What You’ll Do
Now, it’s time to bring your adorable brown bear to life. Here’s a step-by-step guide to make your crafting as fun and easy as possible:
Painting the Bear’s Body: Start by pouring some brown paint on a paper plate. Dip the backside of a plastic fork into the paint, then swipe it across a second paper plate or a piece of construction paper (shaping it into a circle can mimic the bear’s head more closely). This technique will give the bear’s fur a unique texture. Continue until the surface is fully covered, then set it aside to dry.
Creating the Face: Once the base of your bear’s head has dried, it’s time to add some details. For the paper nose, you can either paint one in the center or cut out a shape from construction paper and glue it on. Next, draw or paint the mouth below the nose. Adding a tongue gives your bear a playful look. Now he’s got a cute face!
Adding Ears: Cut out two ear shapes from construction paper. If you’re working on a paper plate base, glue these at the top to represent ears. In case you opted for construction paper from the start, you have the option to paint the bear’s ears directly onto the paper.
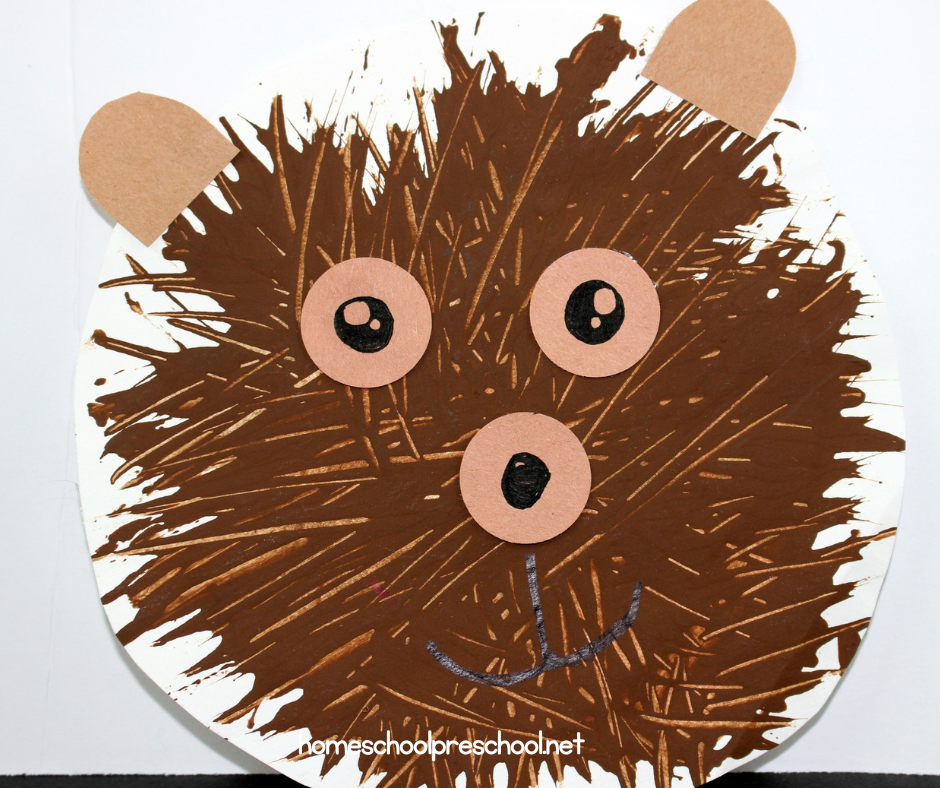
Final Touches: No teddy bear is complete without those sparkling googly eyes! Glue them on, and admire your crafty creation.
With these simple steps, you’ve now made not just a simple bear craft, but a memorable experience for your little ones. This fork painted bear craft is perfect for encouraging creativity and fine motor development in a fun, engaging way.
Variations:
Creating variations of our bear-y cool craft allows for exploration into the wonderful diversity of the bear family. Here’s how to adapt this easy art project for other beloved bear species:
Polar Bear: For a frosty friend from the Arctic, start with a light blue or white paper plate or piece of construction paper to represent the chilly habitat. Use white paint with your fork to create the bear’s fur, giving it a snowy texture. The whiteness of the paint against a light blue background can mimic the polar bear’s natural camouflage in the icy environment.
Panda Bear: Everyone’s favorite black-and-white bear requires a bit of contrast. Begin with a white paper plate or construction paper for the face. Use black paint to add details like the ears and the iconic eye patches. Before you stick on the googly eyes, painting or gluing black circles around them will make your panda’s gaze pop, bringing this adorable creature to life.
Black Bear: To capture the essence of a black bear, switch to black paint for the fur. Since black bears often have lighter noses, applying brown paint for the nose detail ensures it stands out against the dark background. This variation is a fantastic way to talk about how creatures adapt to their environments, with the black bear’s dark fur helping it blend into the forest shadows.
By exploring these variations, children can learn about the different types of bears while expressing their creativity. Each bear brings a unique story and habitat to the table, offering educational opportunities alongside crafting fun.
More Bear-Themed Crafts
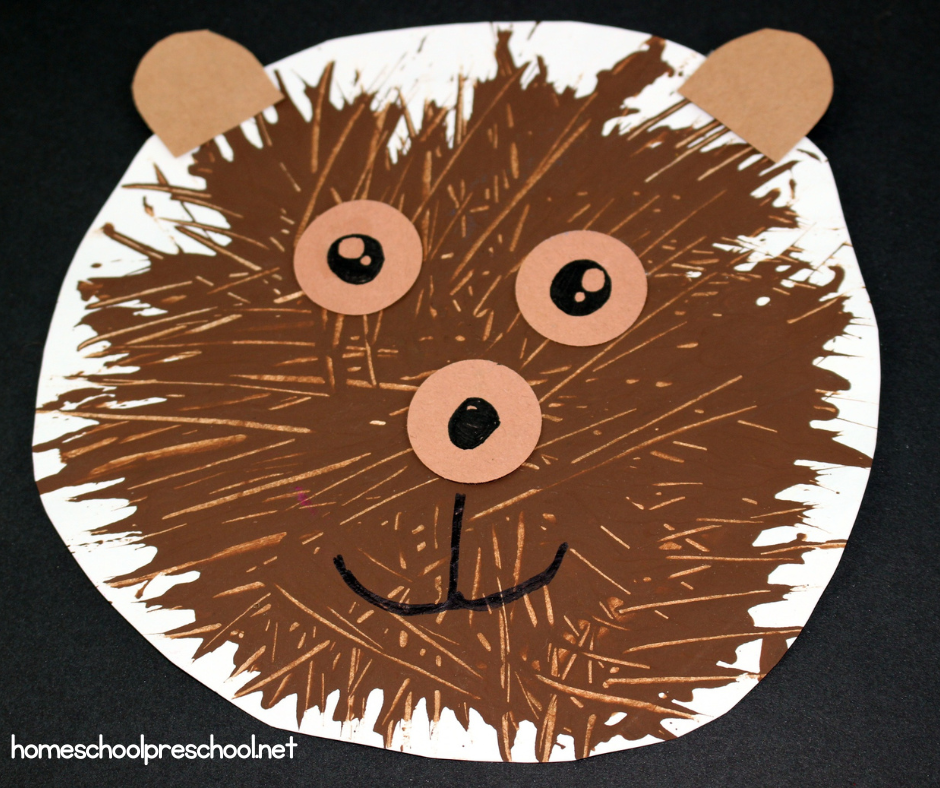
Bears are fascinating creatures, and incorporating them into crafts can bring their intriguing world closer to children. That’s why we’ve compiled a delightful selection of bear-themed crafts to ignite your little ones’ imaginations further. From simple coloring pages to more intricate projects, there’s something here for every budding artist.
Favorite Bear Books
Diving into the world of literature can be a marvelous adventure, especially when it involves our furry friends from the animal kingdom. In this section, we’ll explore some of the most enchanting and heartwarming bear-themed books perfect for young readers. Each book promises not just a story, but a gateway to imagination, empathy, and a deeper love for nature.
Crafting, exploring, and learning about the amazing world of bears through art and literature can be a rewarding experience for both children and adults. Our guide to creating a variety of bear-themed crafts, along with recommended bear books, aims to ignite a passion for creativity and a love for these magnificent creatures in the hearts of young learners.
Whether you’re painting, reading, or engaging in imaginative play, these activities offer countless opportunities for fun, learning, and bonding. Remember, the joy of this excellent bear craft is not just in the final product but in the process of creating memories that will last a lifetime. Happy crafting!
Fork-Painted Bear Craft
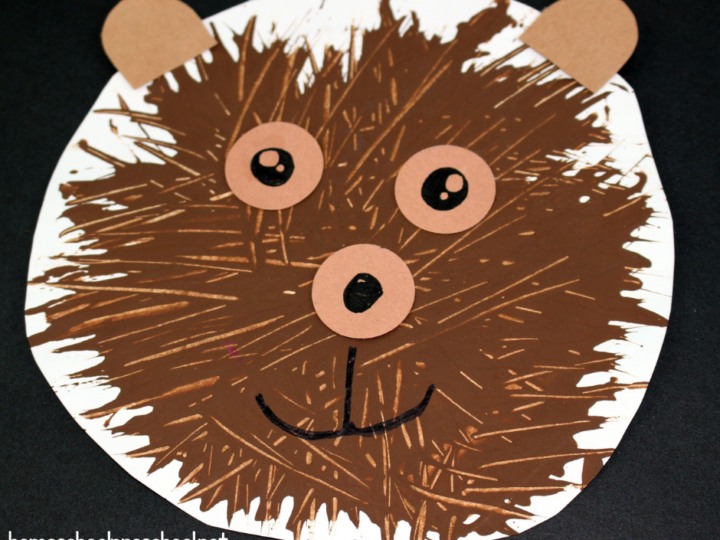
Discover the joy of creating with our easy fork-painted bear craft tutorial. Perfect for kids' creative and educational fun!
Materials
- Paper plate
- Construction paper
- Washable paint
- Googly eyes
- Glue stick
- Plastic fork
Instructions
Create a Textured Bear Body:
- Grab your browns: Squeeze some brown paint onto a paper plate.
- Make a furry stamp: Dip the back of a plastic fork in the paint.
- Press and print: Gently dab the painted fork onto another paper plate or your construction paper. Use a circular motion to create a round shape – like a bear's head!
- Repeat for fur: Keep stamping the paper until it's covered in "fur" prints.
- Let's dry! Set your artwork aside to dry completely before moving on.
Create the Bear's Face
Your bear's face awaits! Now that the head is dry let's add some features.
- Nose options: Paint a nose right on the head, or cut one out of paper and glue it on.
- Smile time! Draw or paint a happy mouth under the nose.
Adding Ears
- Your bear needs ears! Cut out two cute ear shapes from construction paper.
- Placement options: Glue those ears at the top for a paper plate bear. You can paint the ears right on if your bear is all construction paper!
Final Touches
- No teddy bear is complete without those sparkling googly eyes! Glue them on, and admire your crafty creation.
what a nice easy craft for children to do. 🙂 pinning