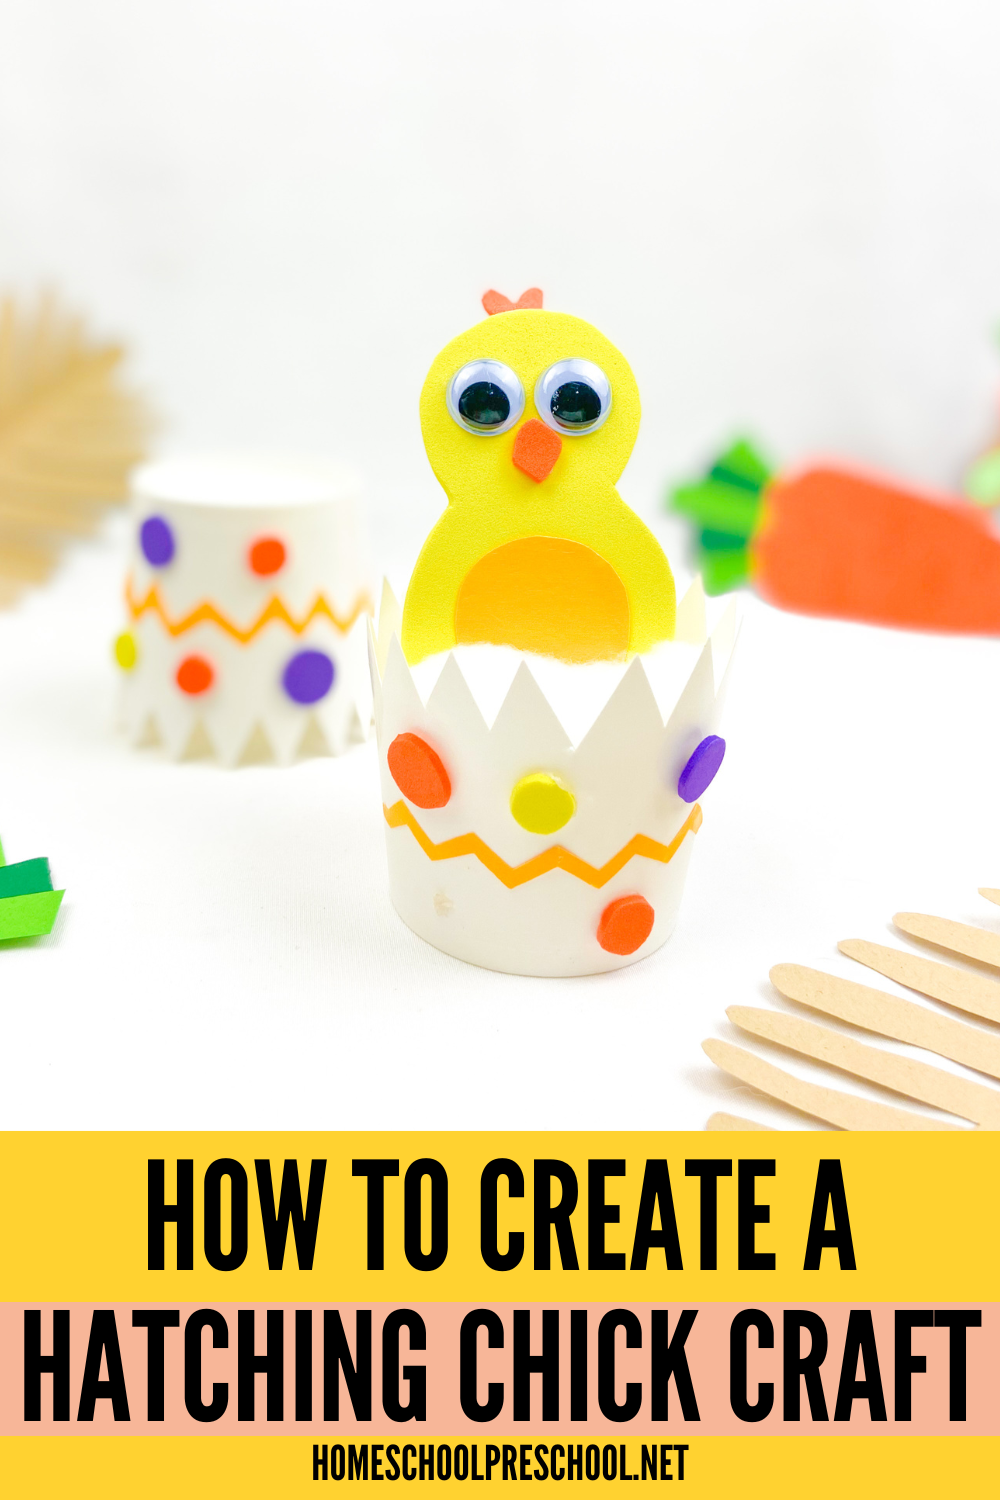
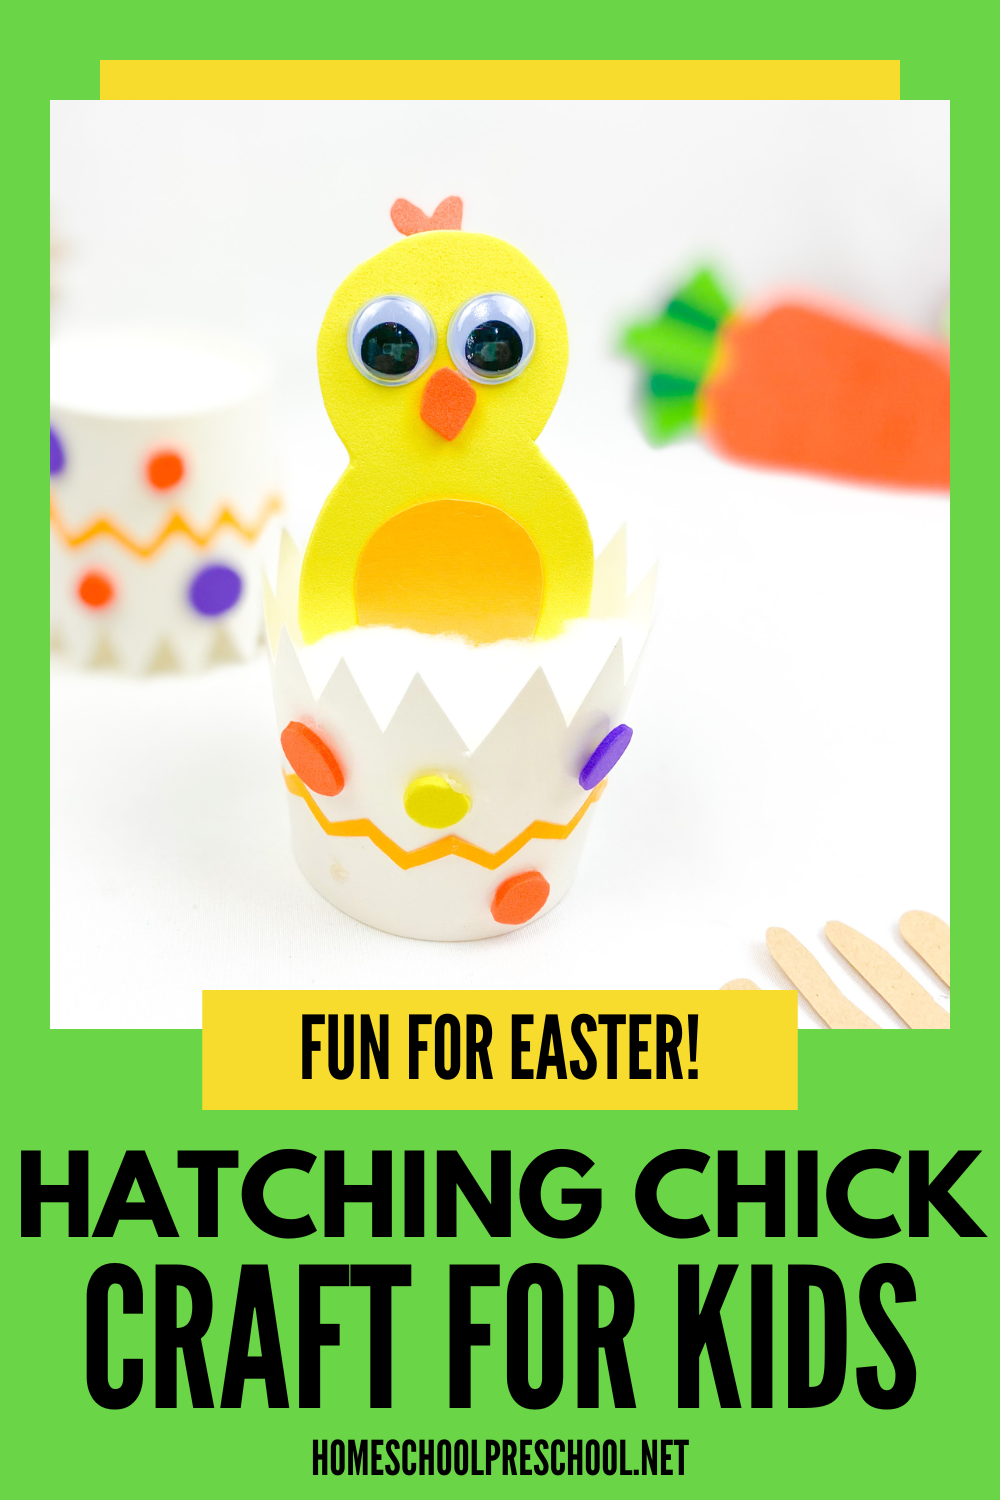
Easter Chick Craft
Are you looking for a fun and creative Easter chick craft to do with your little ones? You’ve come to the right place!
Easter is a magical time, bursting with colors, traditions, and opportunities for crafting. Among the many Easter activities for preschoolers, making an Easter chick craft stands out for its simplicity, fun, and the joy it brings to both kids and adults alike.
Get crafty with this easy Easter chick project! We’ll show you step-by-step how to make your own adorable chicks. These crafts are not only perfect for enhancing fine motor skills but are also great for sparking creativity and bonding with your preschoolers.
Whether you’re wrangling a classroom full of peeps or having a chill day at home, these adorable chicks are a blast to make. It’s a guaranteed dose of Easter fun, and you might even create some memories that stick around for a while.
Incorporating holiday crafts into preschool lessons is a fantastic way to bring seasonal joy into the classroom. It transforms learning into a festive experience, making each holiday a unique opportunity for creative exploration and understanding different cultures and traditions.
Easter crafts like these chicks add a splash of color and excitement and allow children to develop crucial skills such as following directions, hand-eye coordination, and social interaction.
These activities foster a strong sense of community and belonging among the little ones. It’s a delightful way to teach, celebrate, and create simultaneously!
Why are chicks considered an Easter animal?
You may have noticed that chicks are a common Easter symbol, but have you ever wondered why? Chicks represent new life and rebirth, which perfectly aligns with the meaning of Easter. As spring arrives and new life emerges in nature, chicks are often hatched around this time, making them an ideal symbol for the holiday.
But beyond their symbolism, chicks also add a playful and cute touch to Easter decorations. Incorporating them into crafts is fun to add a festive touch to your home or classroom.
Easter Chick Craft
Now that you’re familiar with the delightful reasons behind choosing chicks as an Easter symbol, it’s time to get our hands on the crafting materials! In this section, we’ll walk you through the process of creating your own Easter chick craft. This simple yet absolutely charming craft is perfect for preschoolers and will surely add a burst of joy and creativity to your Easter celebrations.
What You’ll Need
Ready to start crafting? Great! Here’s everything you’ll need to bring your Easter chick to life:
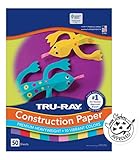
- Yellow Construction Paper: This will be the main body of your chick.
- Pastel Foam Sheets: Perfect for adding colorful details.
- Paper Cups: These will serve as the base for our chicks.
- Pencil: To sketch out your designs before cutting.
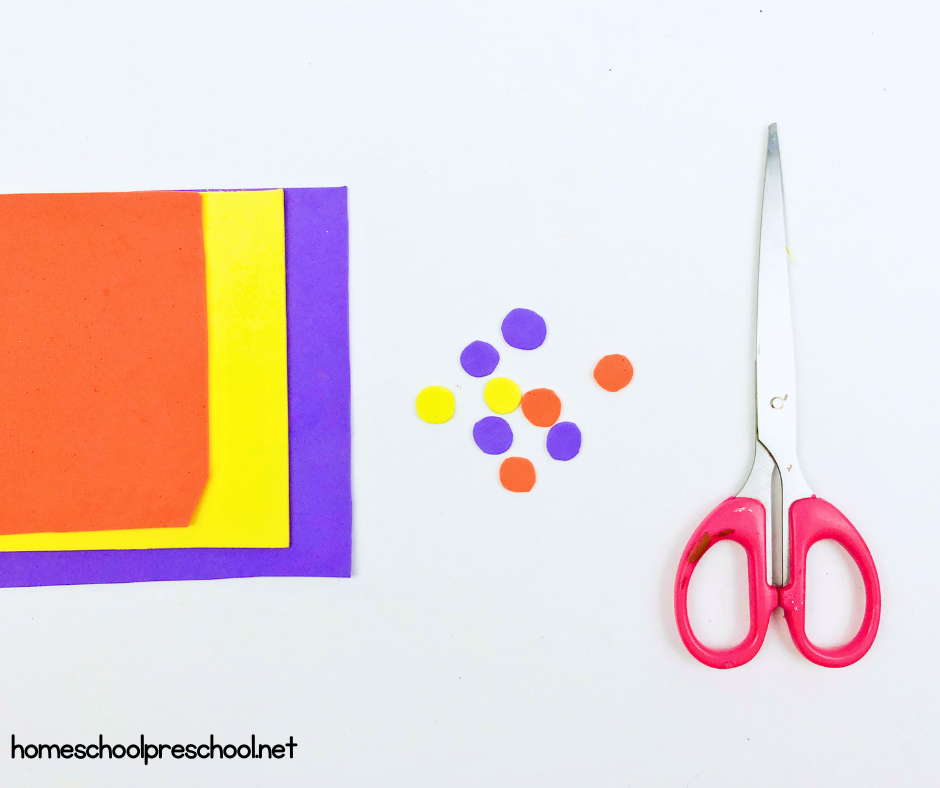
- Scissors: Cut out shapes from your construction paper and foam sheets.
- Glue Stick: To stick all your pieces together.
- Cotton Balls: These will add a fluffy texture to your craft.
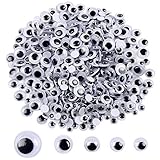
- Google Eyes: To give your chick that adorable look!
Make sure you have all these supplies on hand before you start. Each one plays a crucial role in bringing your Easter chick craft to life in a fun and exciting way!


What You’ll Do
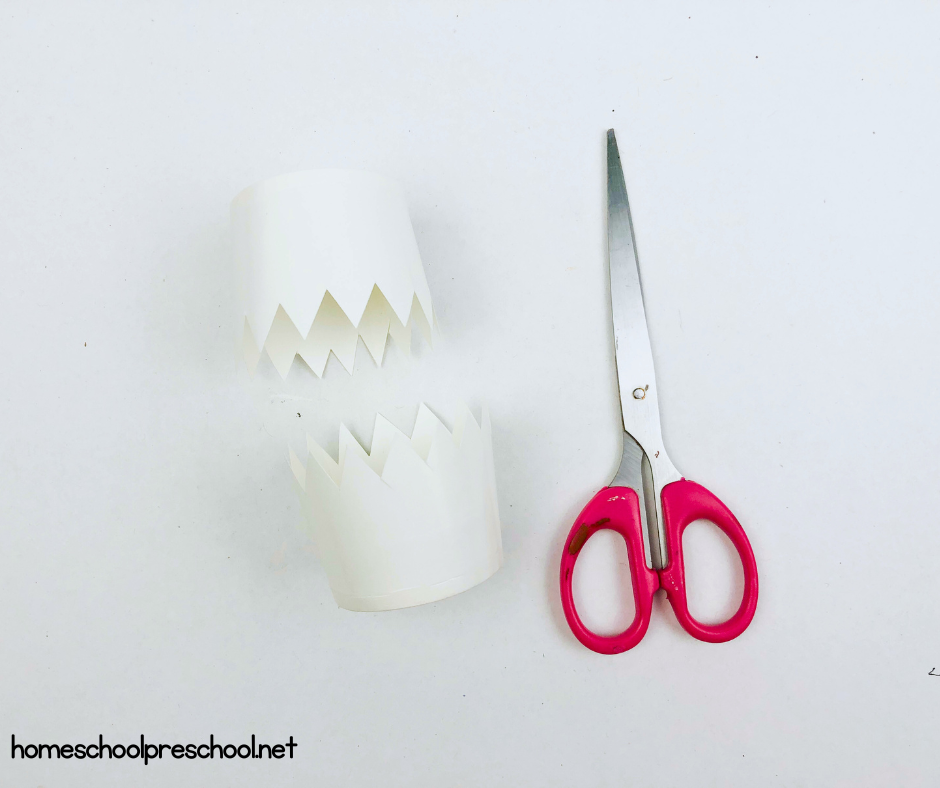
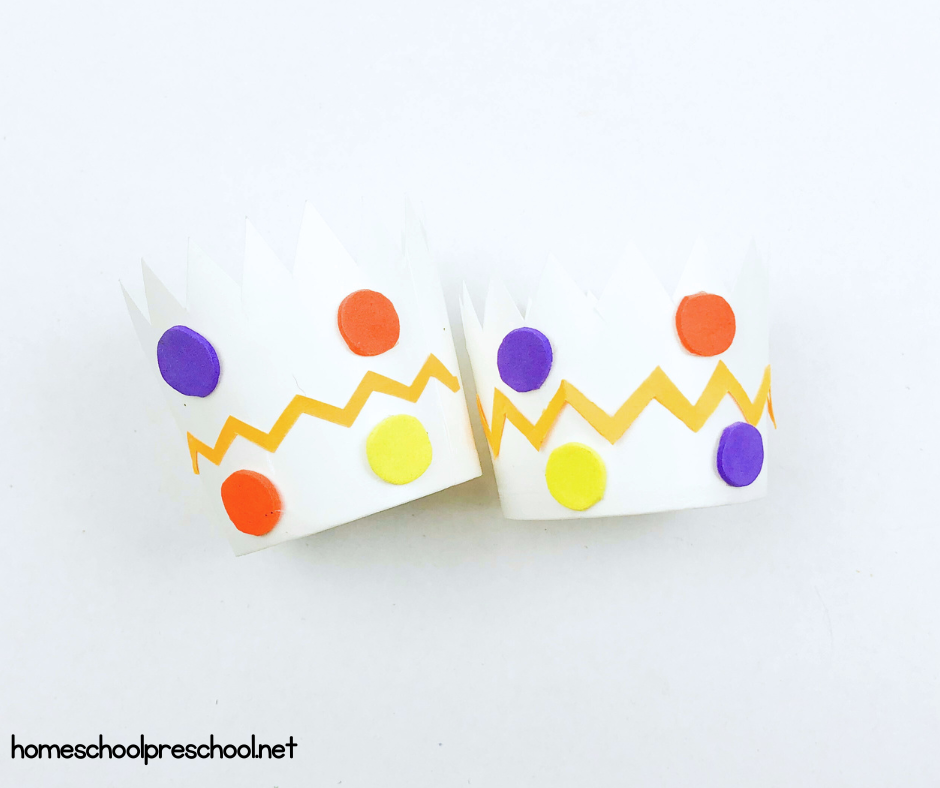
Begin with the Hatch: Start by taking 2 paper cups and making a zigzag cut around the top of each. This creates a delightful “hatching” effect for your project.
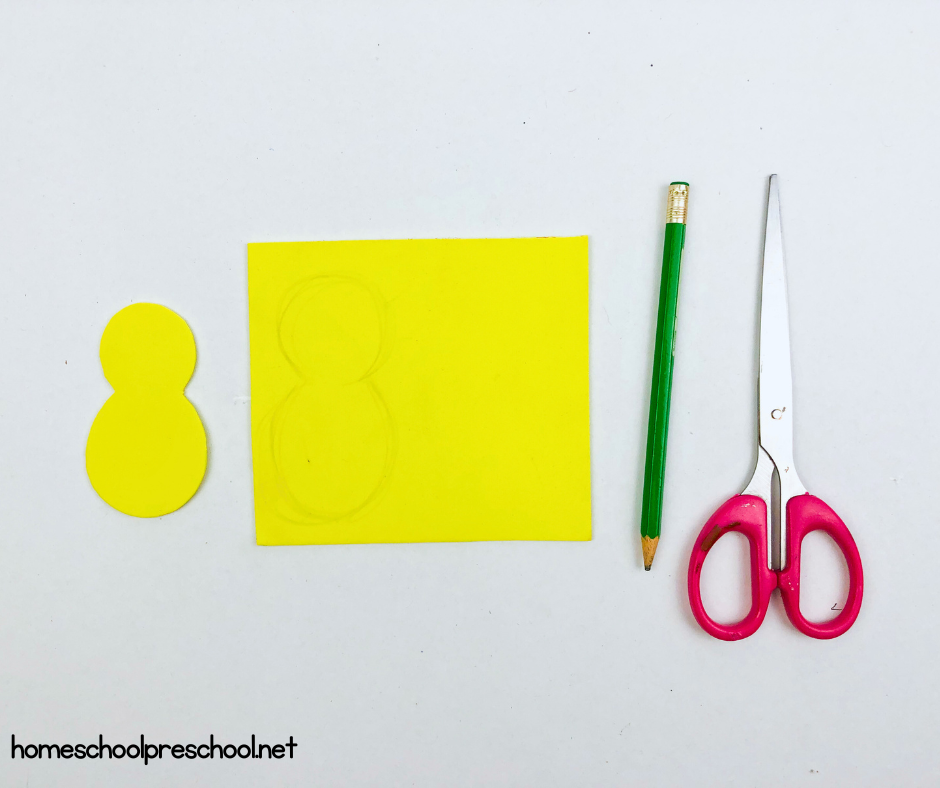
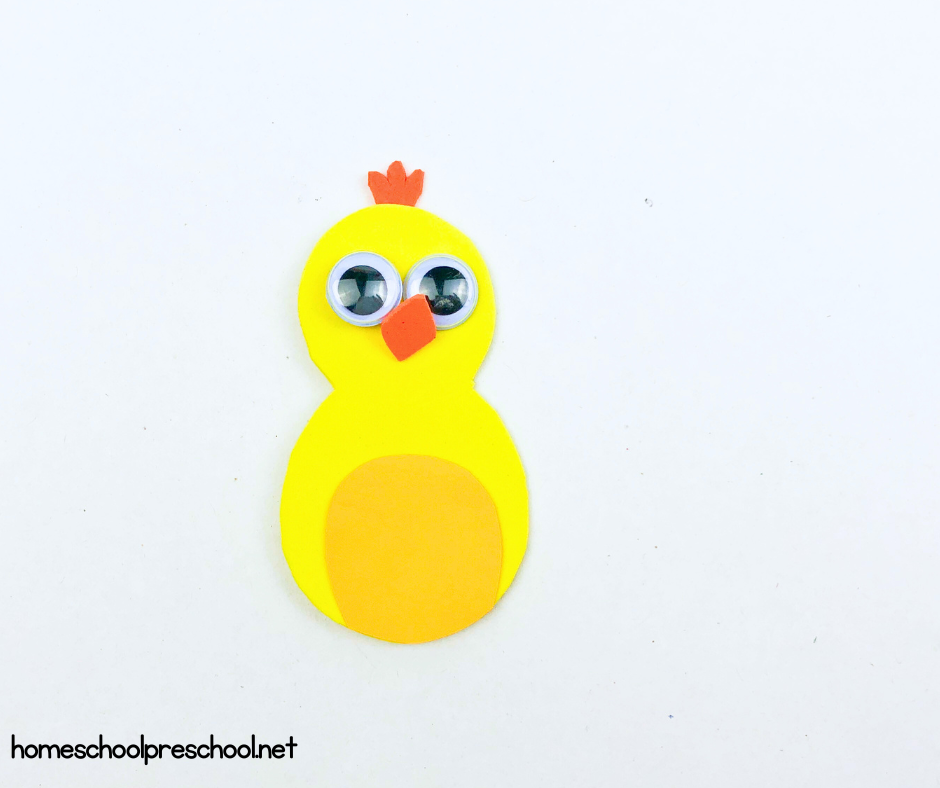
Craft the Chick: Grab a yellow foam sheet and trace the outline of your chick’s body. Once you’re happy with your drawing, gently cut it out with scissors.
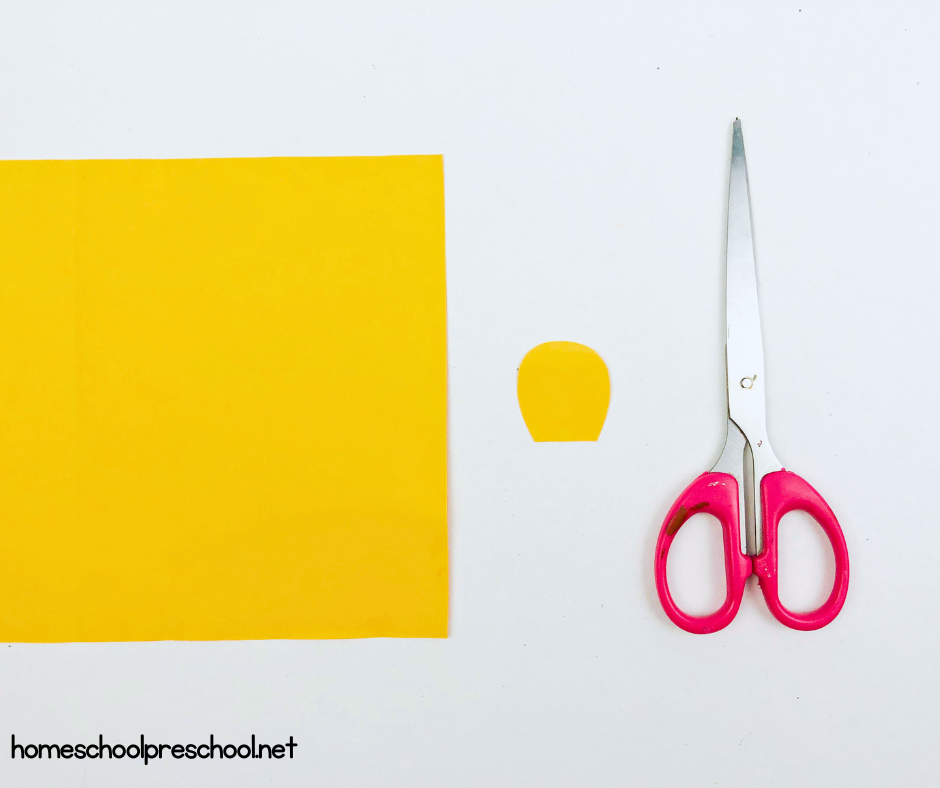
Make His Belly: From a piece of yellow construction paper, cut a small petal shape – round on top and straight on the bottom. This will be the chick’s belly.
Beak and Hair Time: Cut the chick’s beak and little hair from an orange foam sheet.

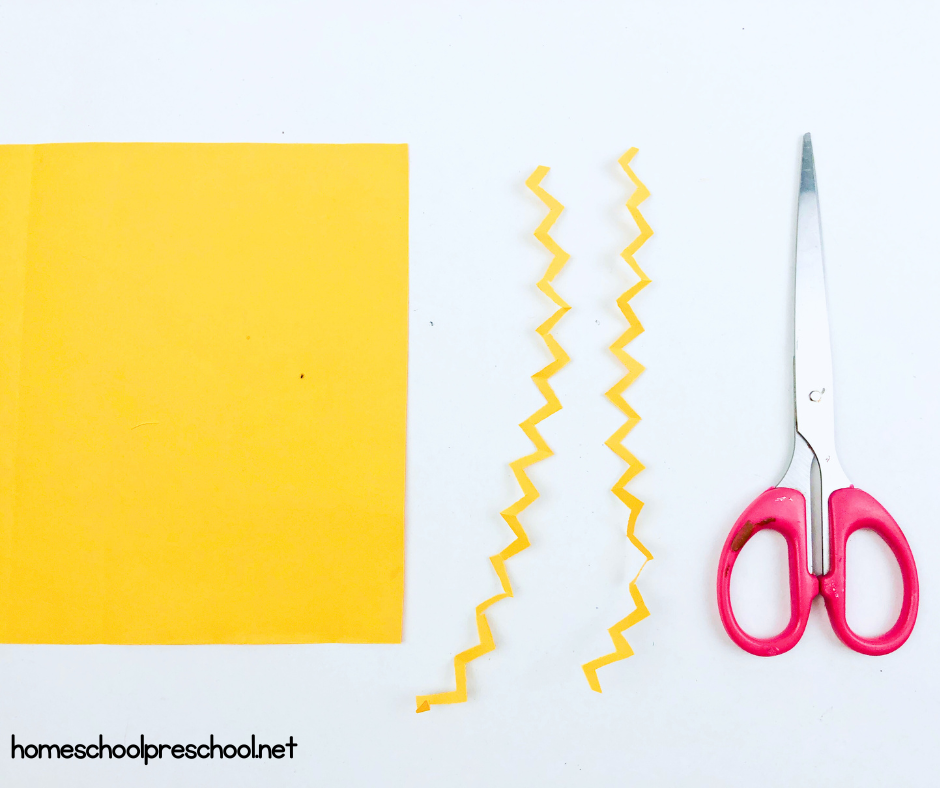
Stripes: With the yellow construction paper, cut out two strips using a zigzag pattern to create stripes for your chick’s egg.
Add Some Details: With a mix of your colored foam sheets, cut small circles to add a decorative touch to your craft.
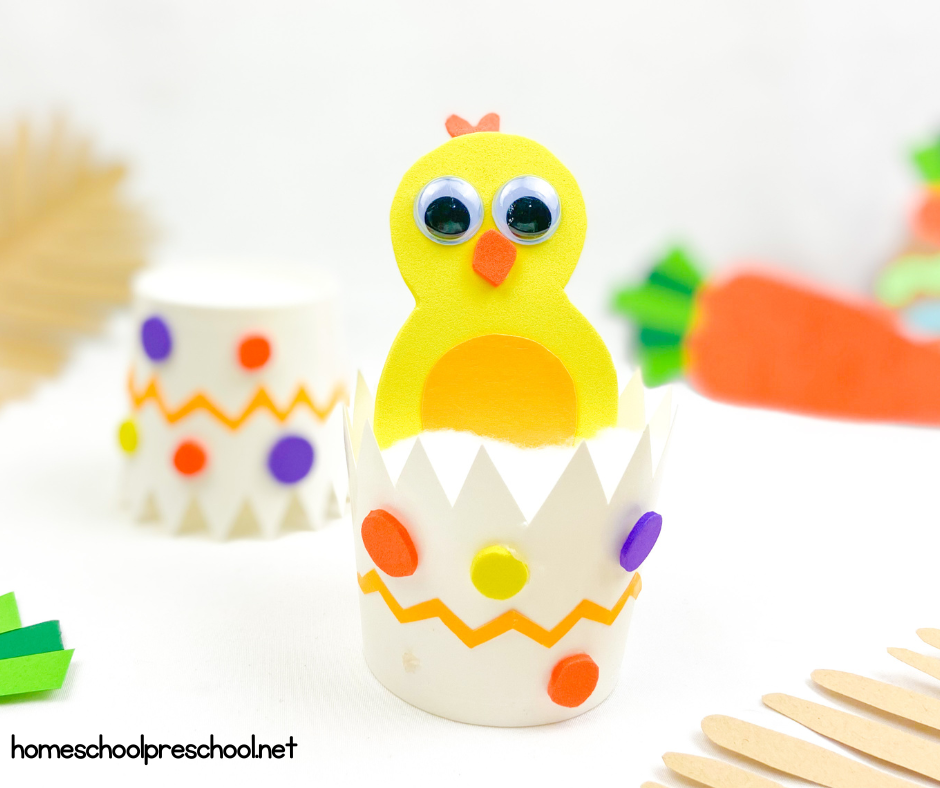
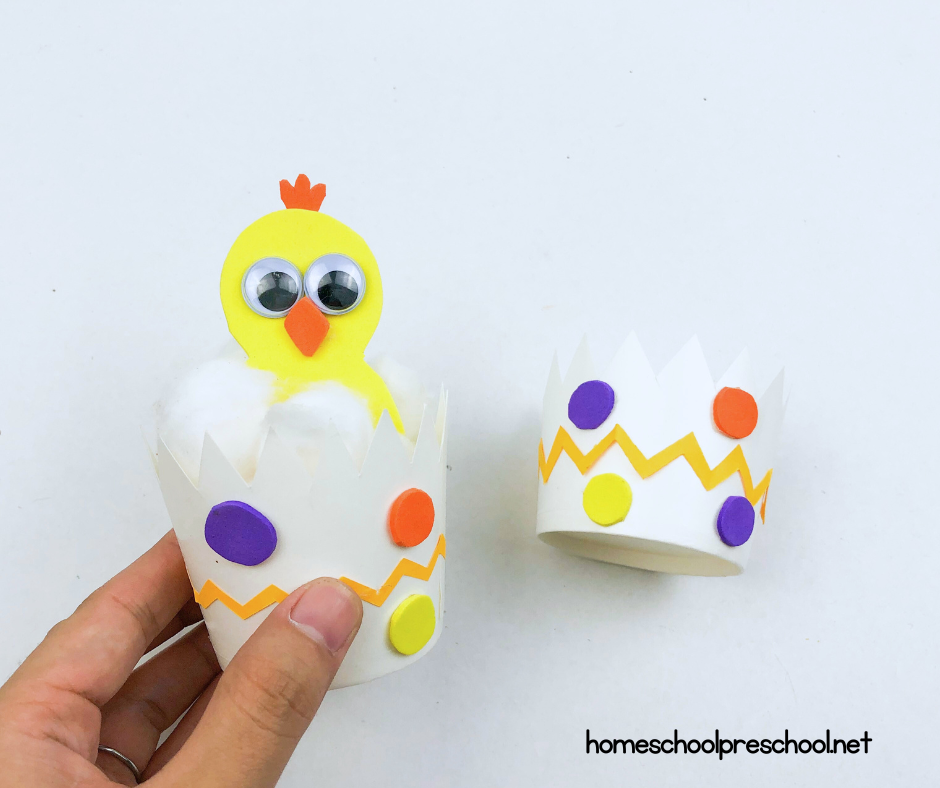
Assembly Fun: It’s time to put it all together! Place a few cotton balls inside your paper cup for a cozy nest. Then, add the chick on top. Attach the eyes, beak, hair, wings, and legs to bring your chick to full charm.
Decorate the Nest: Adorn the paper cup with the small circles you cut out for a festive and colorful nest.
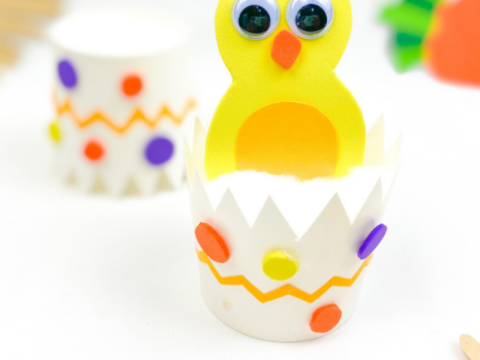
Voila, Your Hatching Chick: And just like that, you’ve created an adorable Easter chick emerging from its egg! Share and enjoy your crafty creation.
Easter Chicks Ideas for Preschoolers
Exploring Easter with crafts is a fantastic way to engage preschoolers’ creativity and teach them about this joyful season. This section will share more Easter chick ideas that are perfect for little hands. Whether at home or in the classroom, these crafts promise fun and festivity for everyone involved.
Easter eggs and chicks go hand in hand when it comes to preschool crafts, and there’s a whole array of activities that can bring fun and learning into your Easter celebrations. Here are a few ideas to get those little hands busy:
Chick Finger Puppets: Using yellow felt, create simple finger puppets that kids can decorate with googly eyes and orange felt beaks. They’re perfect for imaginative play or for an Easter puppet show.
Egg Carton Chicks: Transform an old egg carton into a brood of adorable chicks! Cut out individual egg cups, paint them yellow, and add eyes and beaks. It’s a wonderful way to teach children about recycling while celebrating Easter.
Paper Plate Chicks: Paper plates offer another excellent base for creating chick crafts. Use yellow paint, feathers, and construction paper to turn plates into charming chickens that can decorate any space.
Chick Easter Cards: Invite preschoolers to make Easter cards featuring cute chick designs. They can use their fingerprints to create chicks on paper and then add details with markers or paint — a personal touch for family and friends!
Chick and Egg Matching Game: Enhance cognitive skills with a chick and egg matching game. Cut egg shapes from cardstock, drawing chicks on one half and using patterns or colors on the other. Kids can mix them up and then find the matching halves.
Each of these activities is designed to spark creativity, enhance fine motor skills, and introduce the concept of Easter traditions in a playful and engaging way. Plus, they provide a special opportunity for parents and teachers to bond with their young crafters.
Incorporating chick-themed crafts into your Easter celebrations can be a wonderful way to blend creativity, learning, and fun. From the adorable Easter chick craft, we walked through to the variety of preschool-friendly activities suggested, there’s no shortage of ways to get into the festive spirit.
Remember, the true essence of these crafts lies not just in the cute creations but in the joy of making them together. Whether you’re a parent looking for a holiday project, a teacher preparing for classroom activities, or simply someone who loves seasonal crafts, these chick-based ideas are sure to hatch smiles all around.
We encourage you to use these ideas as a starting point and see where your imagination and creativity take you.
Easter Chick Craft
Discover the joy of Easter crafts! Learn how to make adorable hatching chicks with our step-by-step tutorial. Perfect for preschool fun.
Materials
- Yellow construction paper
- Pastel foam sheets
- Paper cups
- Pencil
- Scissors
- Glue stick
- Cotton balls
- Google eyes
Instructions
- Begin by cutting a zigzag pattern around the top rim of 2 paper cups. This creates a neat 'hatching' effect.
- Get your chick's body ready! Trace its outline onto yellow foam and then use scissors to cut it out carefully.
- Next, we'll give our chick a fluffy belly! Cut a small petal shape from your yellow construction paper. Cut the chick’s beak and little hair from an orange foam sheet
- For the egg, use the yellow paper to cut out two thin strips in a zigzag pattern.
- With a mix of your colored foam sheets, cut small circles to add a decorative touch to your craft.
- Create a fluffy nest for your chick with some cotton balls inside your cup.
- Then, it's time for your chick to hatch! Add the eyes, beak, hair, wings, and legs – and watch its personality shine!
- Decorate the paper cup with the small circles you cut out for a festive and colorful nest.