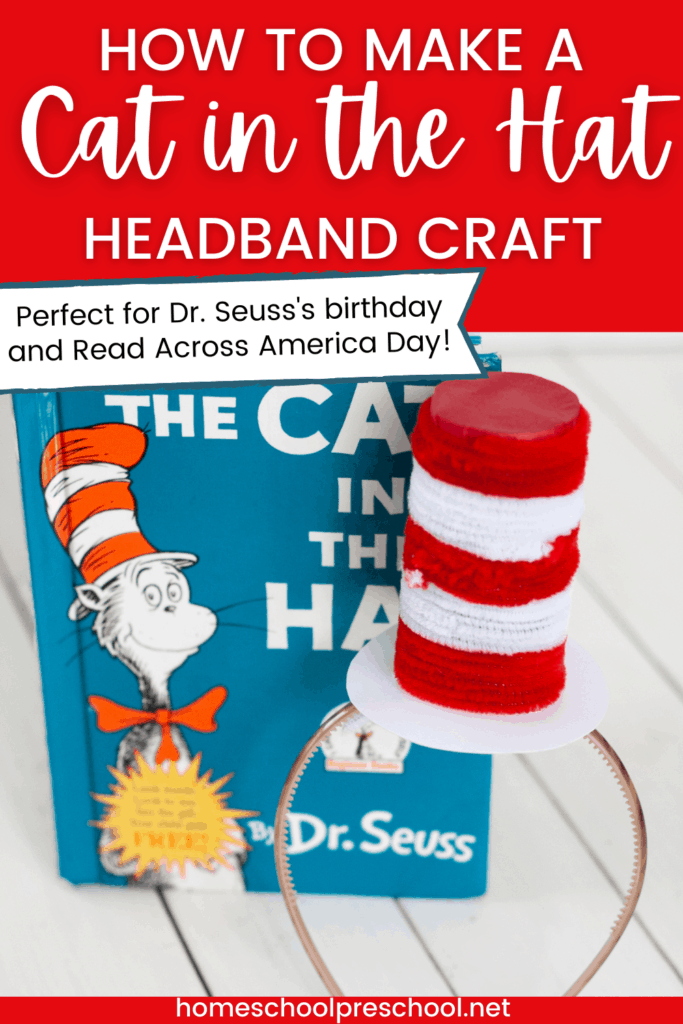
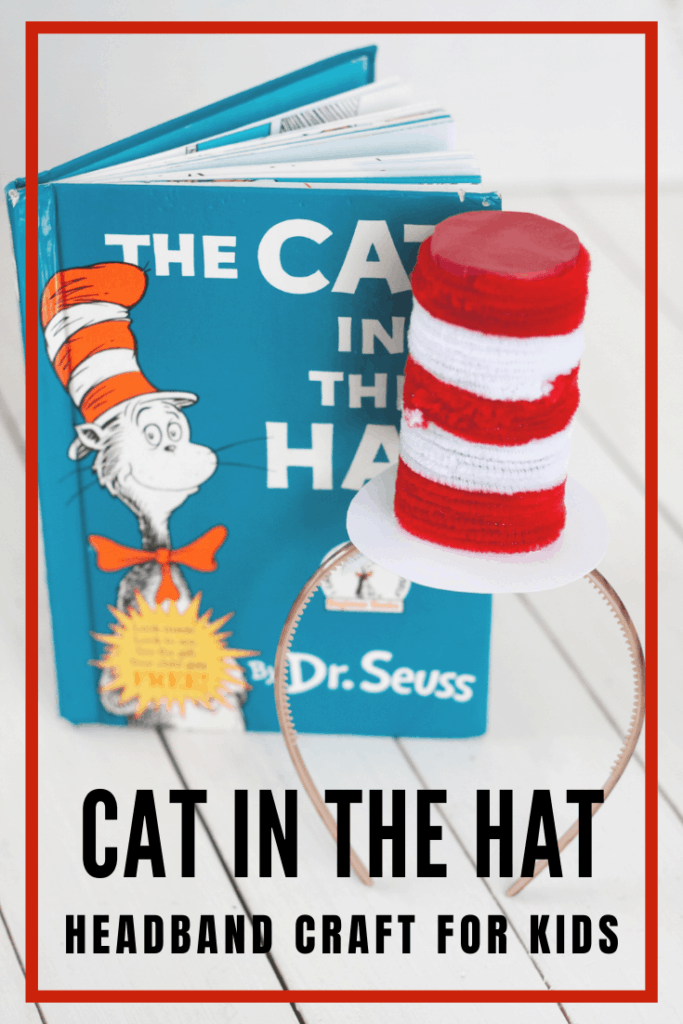
Preschool Cat in the Hat Craft
Kids will love wearing this preschool cat in the hat craft headband as you read the Dr. Seuss story to them.
Why not get your preschoolers excited about Dr. Seuss’s birthday by making this adorable Cat in the Hat headband.
It’s a simple Dr. Seuss craft that your kids can wear as they act out the Cat in the Hat’s shenanigans as you read the story aloud.
Preschool Cat in the Hat Craft
This Cat in the Hat hat can be secured to a plastic headband or a piece of elastic, and your kids can wear it around the house.
Preschoolers can have a Dr. Seuss parade in the hallways at school. These headbands will make the perfect addition to your Dr. Seuss themed activities.
What You’ll Need
- toilet paper roll
- red tissue paper
- glue
- thumbtack
- pipe cleaners, 9 red and 7 white
- scissors
- white cardstock
- pencil
- toothpick
- thin plastic headband
What You’ll Do
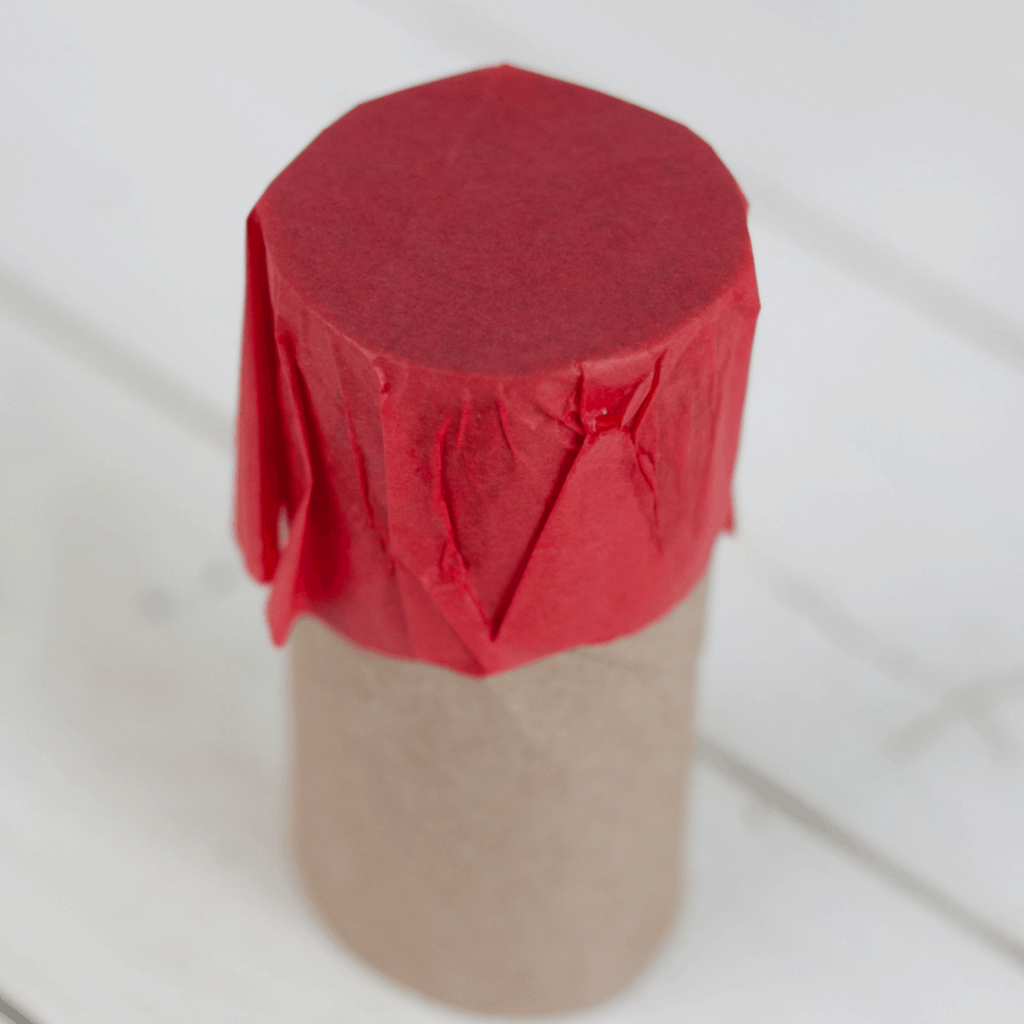
Cut a circle out of red tissue paper, roughly 4-5 inches.
Apply glue to one inch of one end of your toilet paper roll. Place the tube in the center of the tissue paper circle (glued end down) and then wrap the tissue paper up and around the end of the toilet paper roll. Let it dry.
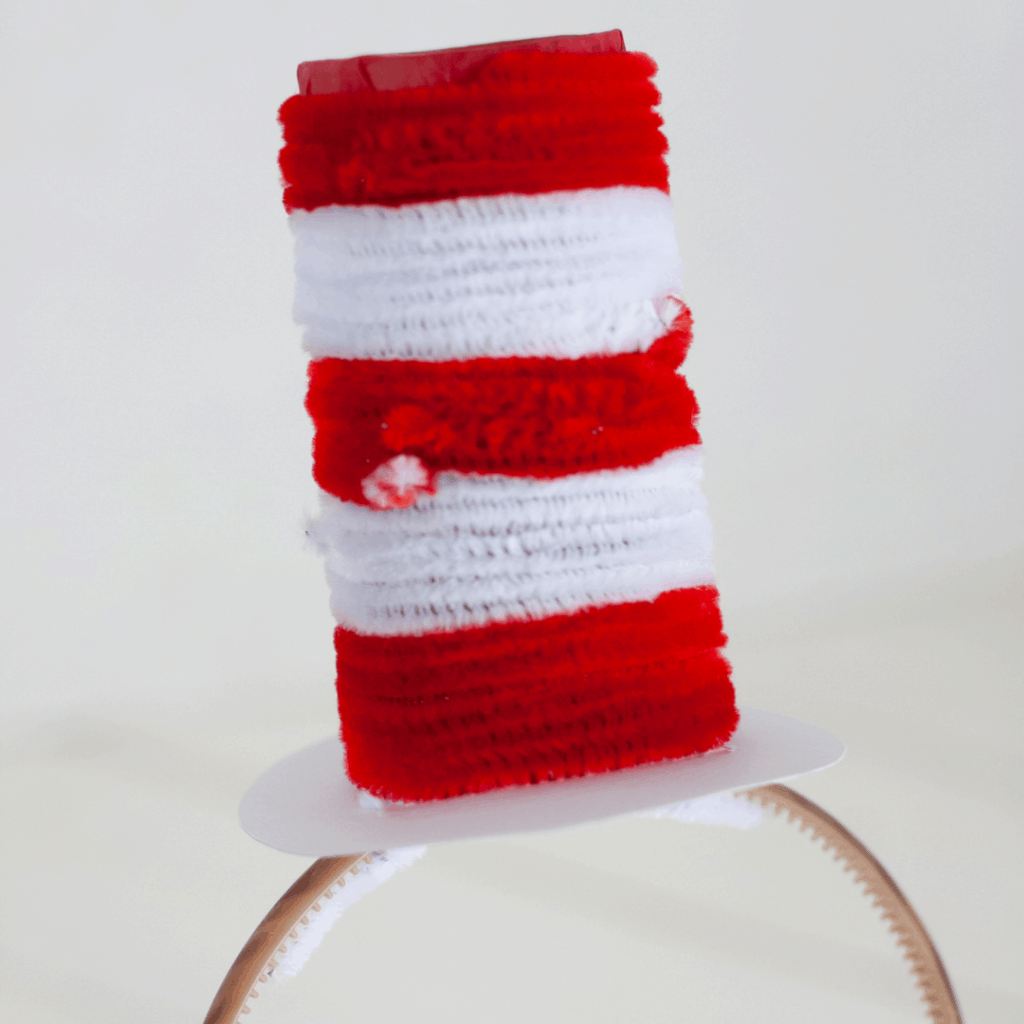
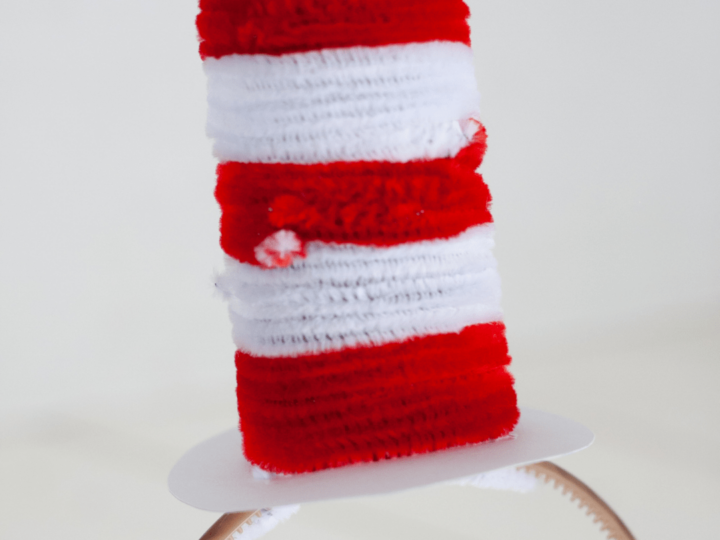
Make one long chain of pipe cleaners by twisting them together in this order: 3 red, 3 white, 3 red, 3 white, 3 red.
Using a thumbtack, poke a hole near the edge of the red end of the toilet paper roll.
Poke the red end of your pipe cleaner chain into the hole about ¼ inch, and start winding the pipe cleaner around the tp roll.
Make a glue line down the tp roll as you go. Wrap the pipe cleaner chain around and around the tp roll, tightening and scrunching it together as you go. Add more glue as you work your way down.
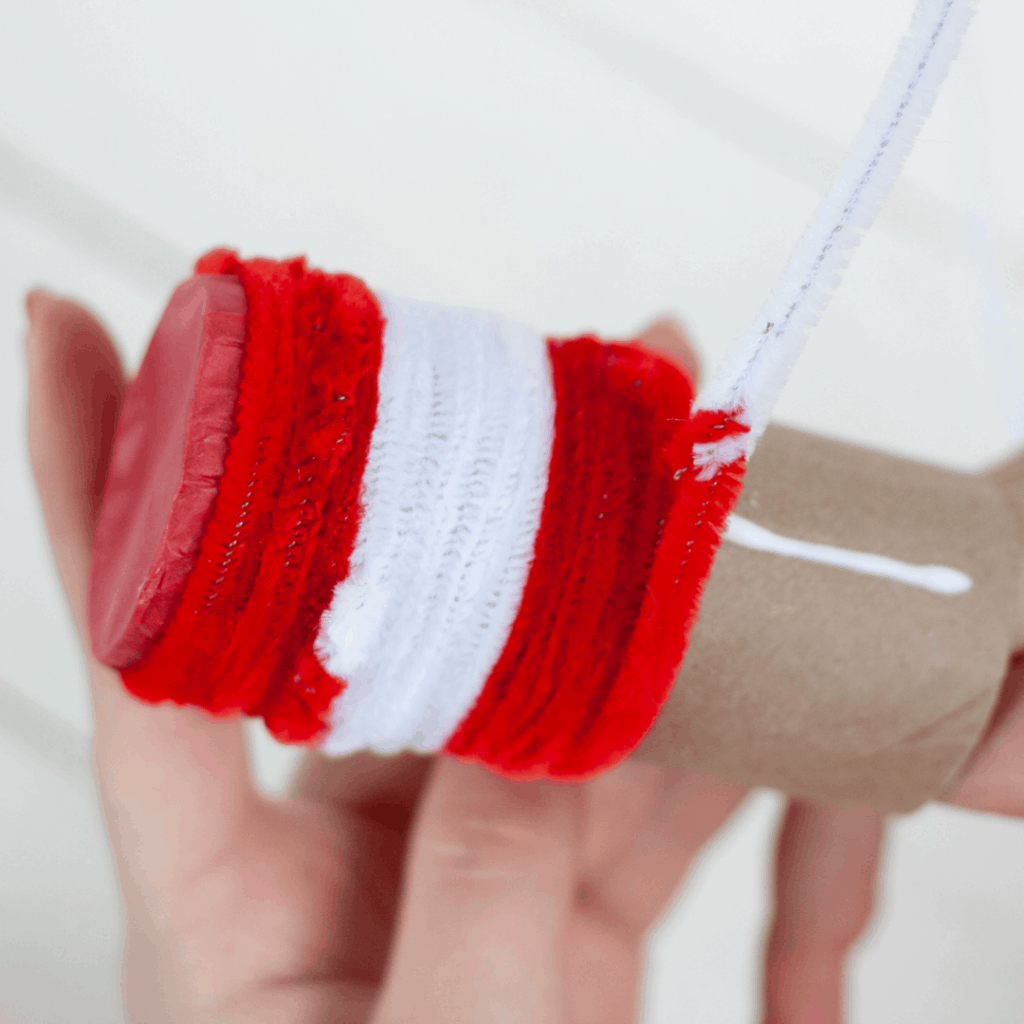
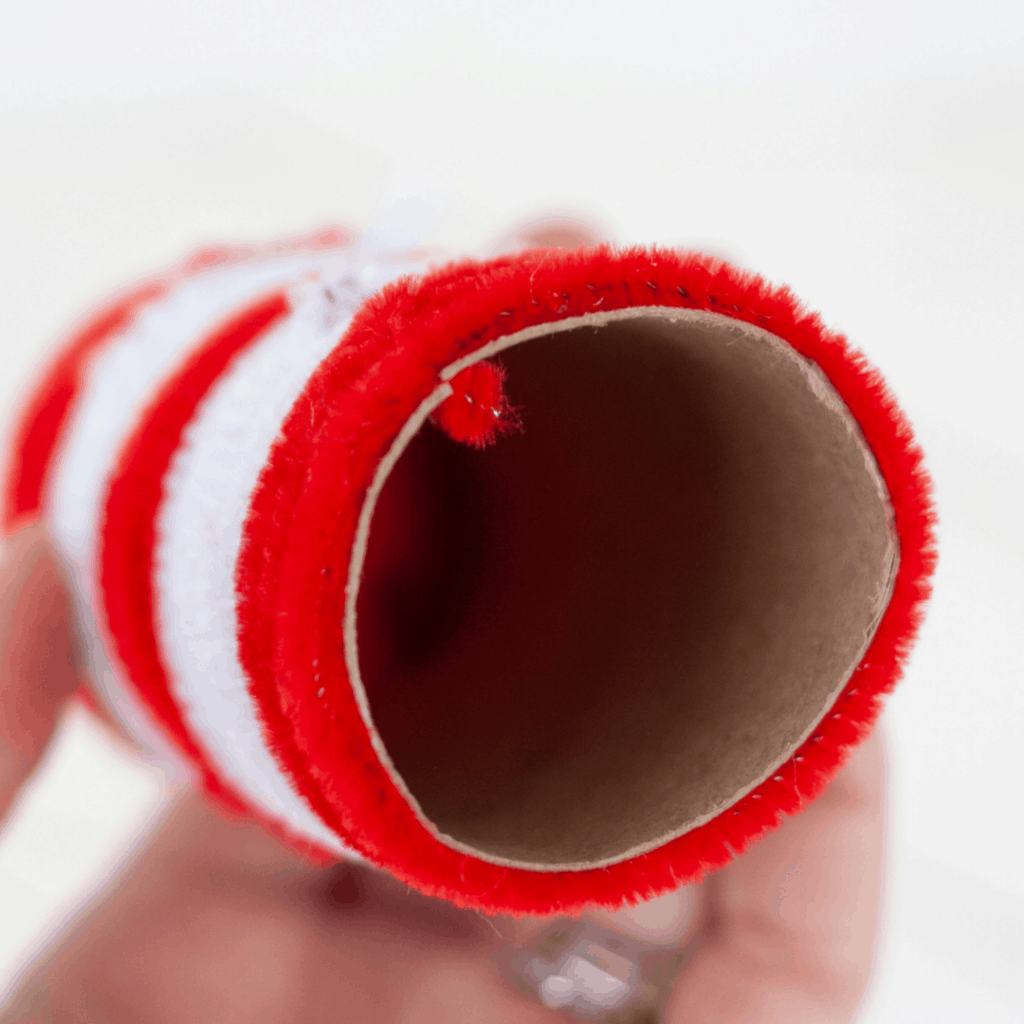
When you’re all the way to the end of the tp roll with your pipe cleaner chain, cut a small slit in the end of the tp roll and slide the end of the pipe cleaner into it so it stays in place.
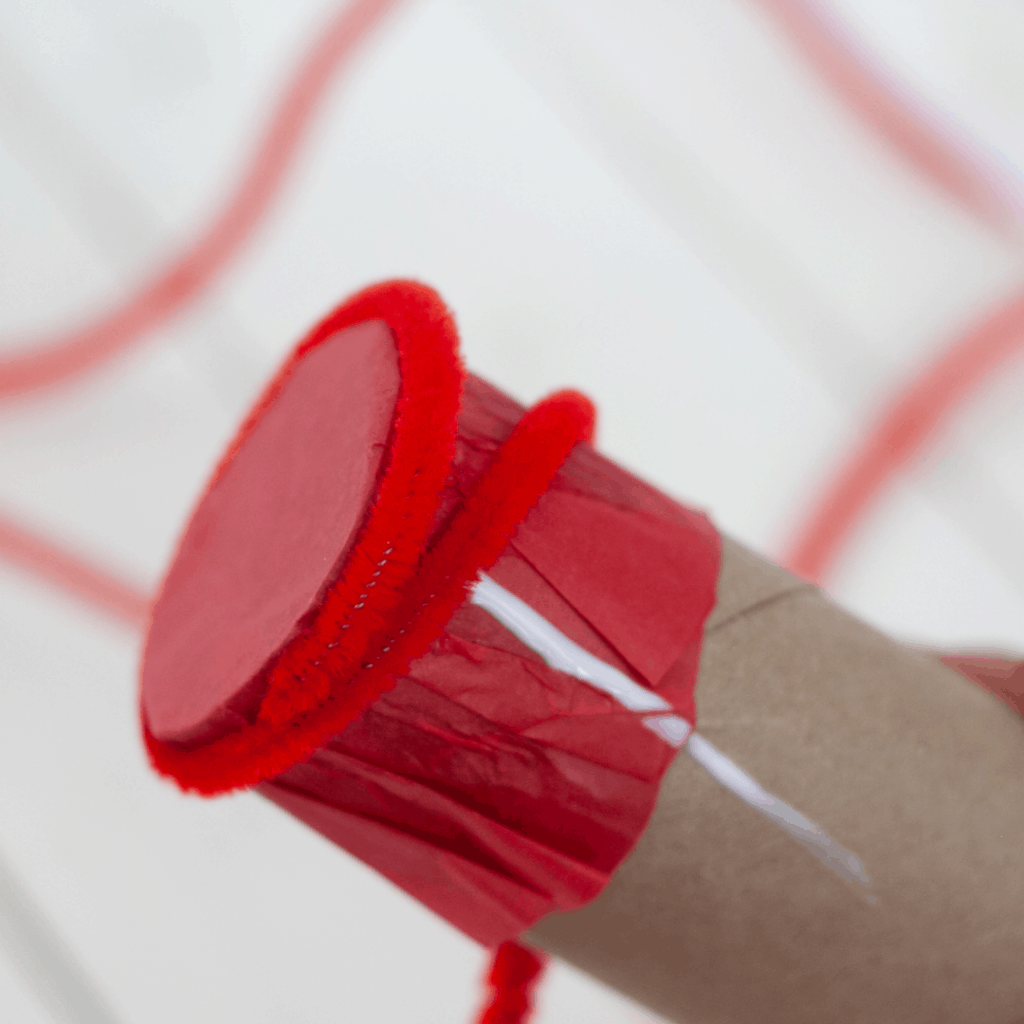
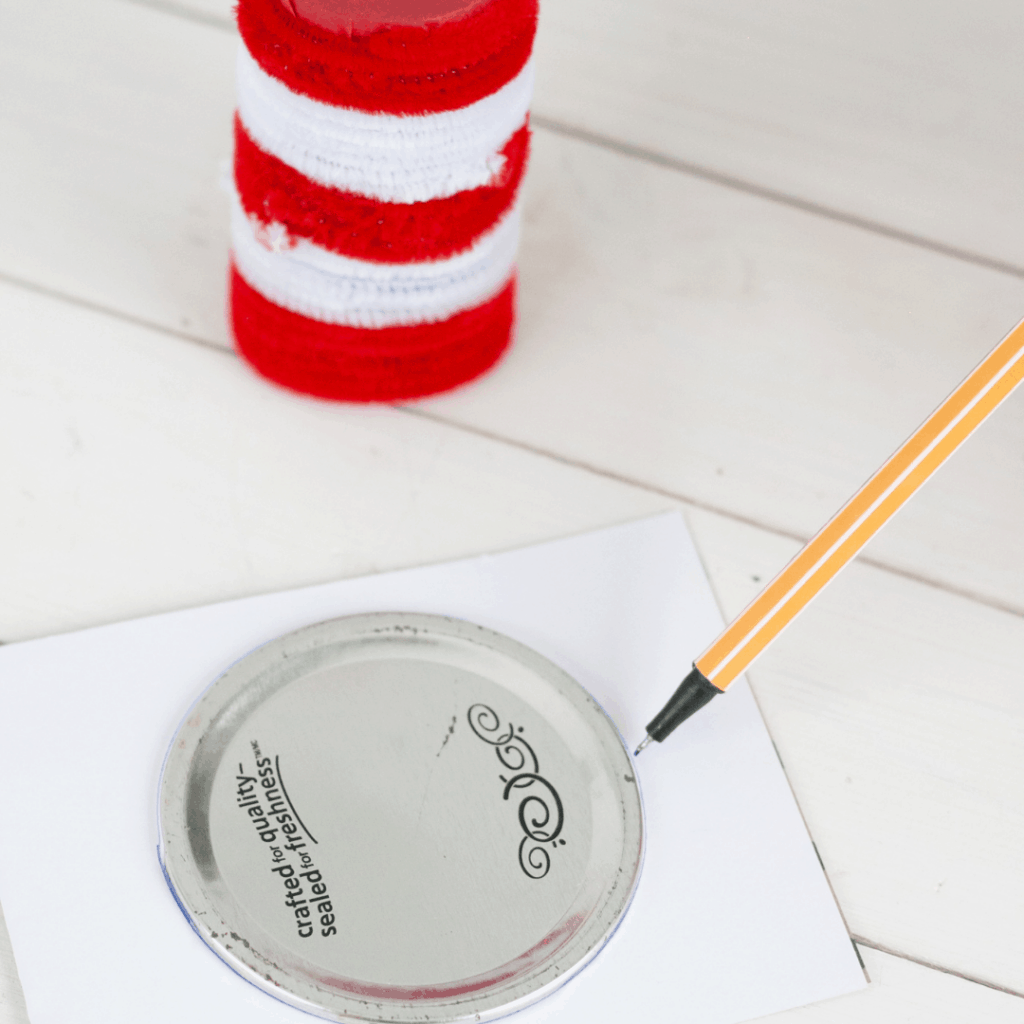
Fold your cardstock in half and trace around a jar lid on it. Cut out the circle and glue the two layers of cardstock together with a light layer of glue. Let dry.
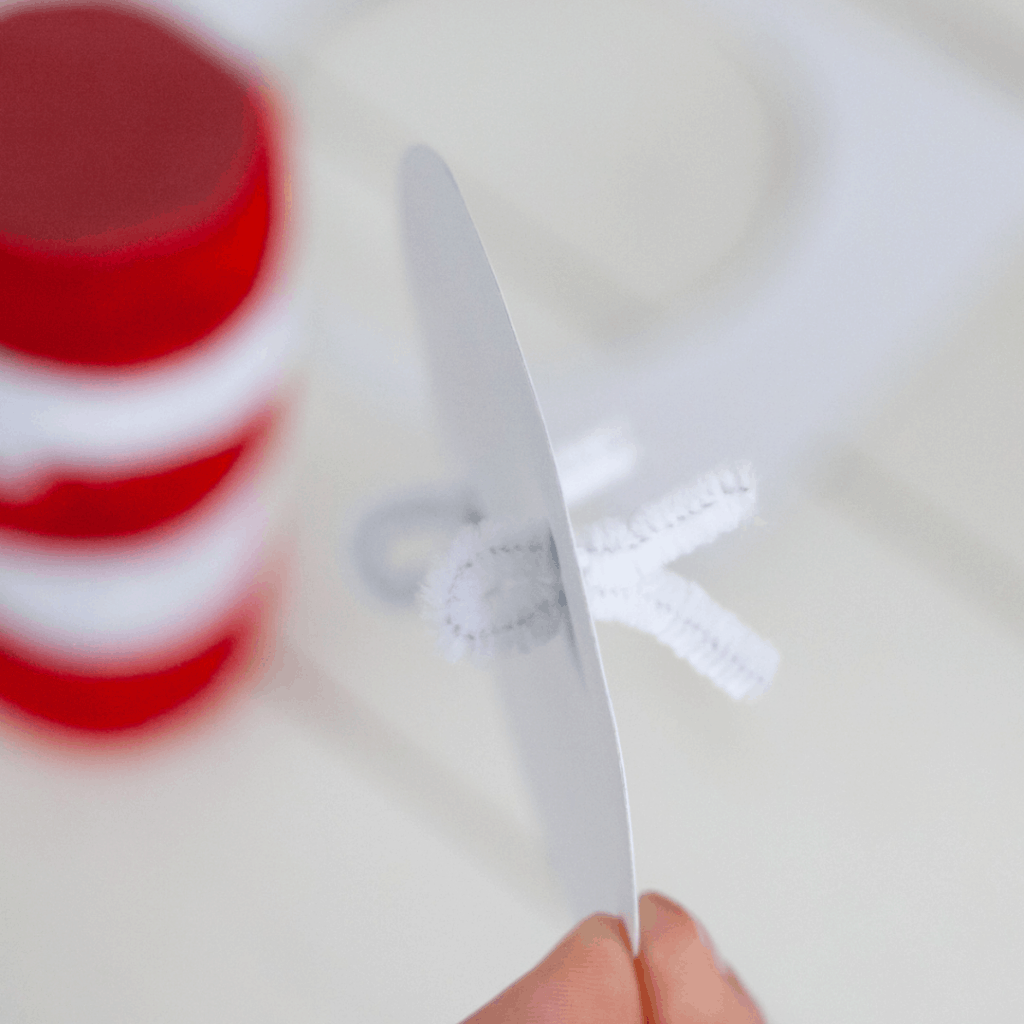
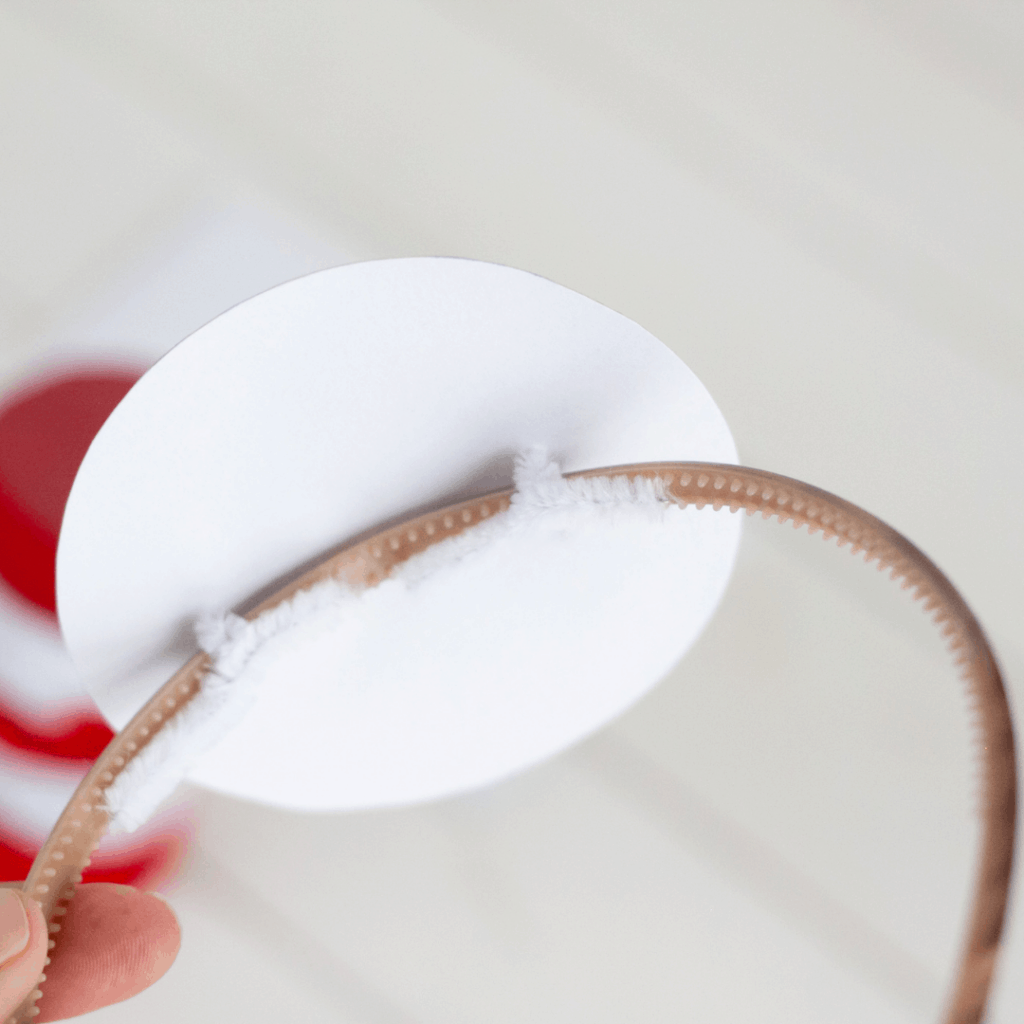
Using a thumbtack, poke two sets of holes in the paper circle as shown in the photo.

Cut two 2-inch sections of your last white pipe cleaner and string them into the holes in the white circle, as shown.
Use the pipe cleaners to fasten the circle onto your headband.
Glue the open end of the tp roll generously and place it in the center of the paper circle that’s fixed to the headband; let dry.
You can use hot glue if you don’t want to wait!
Once completely dry, your Dr. Seuss Hat Headband is ready to wear!
More Dr. Seuss Fun
If you’re looking for more Dr. Seuss activities to do with your preschoolers, check out all of these fun ideas.
Of course, you should read one or two of your favorite Dr. Seuss books. You can grab them from the library or order them from Amazon to add to your preschool bookcase.


Your Favorite Seuss – From his very first book to his very last book, here in one big volume are 13 classic Dr. Seuss stories, everyone’s favorites. All of the words and virtually all of the illustrations are included.
Dr. Seuss’s Book of Colors – Nurture a love of reading—and of the many colorful characters created by Dr. Seuss—with this great new concept book for beginning readers
The Big Green Book of Beginner Books – The only thing better than a Dr. Seuss book is six of them in one! The easy words, engaging rhymes and bright art can turn any kid into a reader.
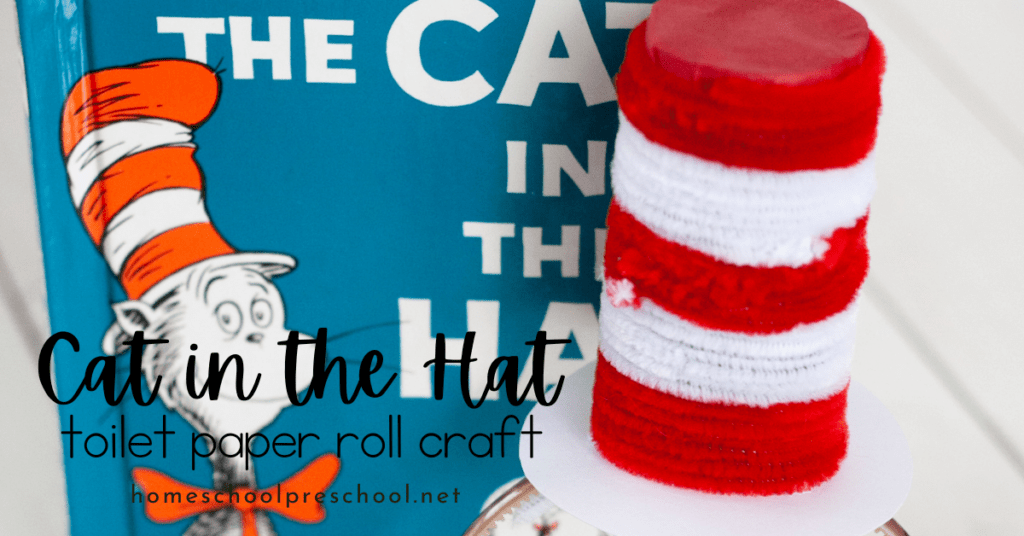
Cat in the Hat Craft
Kids will love wearing this preschool cat in the hat craft headband as you read the Dr. Seuss story to them.
Materials
- toilet paper roll
- red tissue paper
- glue
- thumbtack
- 9 red pipe cleaners
- 7 white pipe cleaners
- scissors
- white cardstock
- pencil
- toothpick
- thin plastic headband
Instructions
- Cut a circle out of red tissue paper, roughly 4-5 inches.
- Apply glue to one inch of one end of your toilet paper roll.
- Place the tube in the center of the tissue paper circle (glued end down) and then wrap the tissue paper up and around the end of the toilet paper roll. Let it dry.
- Make one long chain of pipe cleaners by twisting them together in this order: 3 red, 3 white, 3 red, 3 white, 3 red.
- Using a thumbtack, poke a hole near the edge of the red end of the toilet paper roll.
- Poke the red end of your pipe cleaner chain into the hole about ¼ inch, and start winding the pipe cleaner around the tp roll.
- Make a glue line down the tp roll as you go. Wrap the pipe cleaner chain around and around the tp roll, tightening and scrunching it together as you go. Add more glue as you work your way down.
- When you’re all the way to the end of the tp roll with your pipe cleaner chain, cut a small slit in the end of the tp roll and slide the end of the pipe cleaner into it so it stays in place.
- Fold your cardstock in half and trace around a jar lid on it. Cut out the circle and glue the two layers of cardstock together with a light layer of glue. Let dry.
- Using a thumbtack, poke two sets of holes in the paper circle as shown in the photo.
- Cut two 2-inch sections of your last white pipe cleaner and string them into the holes in the white circle, as shown.
- Use the pipe cleaners to fasten the circle onto your headband.
- Glue the open end of the tp roll generously and place it in the center of the paper circle that’s fixed to the headband; let dry.
- You can use hot glue if you don’t want to wait!
- Once completely dry, your Dr. Seuss Hat Headband is ready to wear!