Dr Seuss Hat Craft
Looking for a fun craft to do for Read Across America Day? Try this adorable craft stick Dr Seuss hat craft. It’s so fun!
March 2 is Read Across America Day and Dr. Seuss’s birthday. Celebrate all things Seuss with this adorable preschool craft.
With just a few supplies you’ve likely got in your supply stash already, you’ll be ready to get crafty with your kids in no time.

I’ve never met a kid who didn’t love Dr. Seuss. His unique writing style, packed with zany words and wildly imaginative characters, are well-known and loved by kids and adults alike.
Dr Seuss Hat Craft
As we near Seuss’s birthday, your preschoolers will love creating this adorable version of the Cat in the Hat’s red and white striped hat. Pair it with a reading of the book, and you’re all set for a fun celebration.
What You’ll Need
- 14 jumbo craft sticks
- pencil
- ruler
- craft knife
- cutting mat
- foam brush or paintbrush
- white paint
- red paint
- construction paper
- glue
- black Sharpie
What You’ll Do
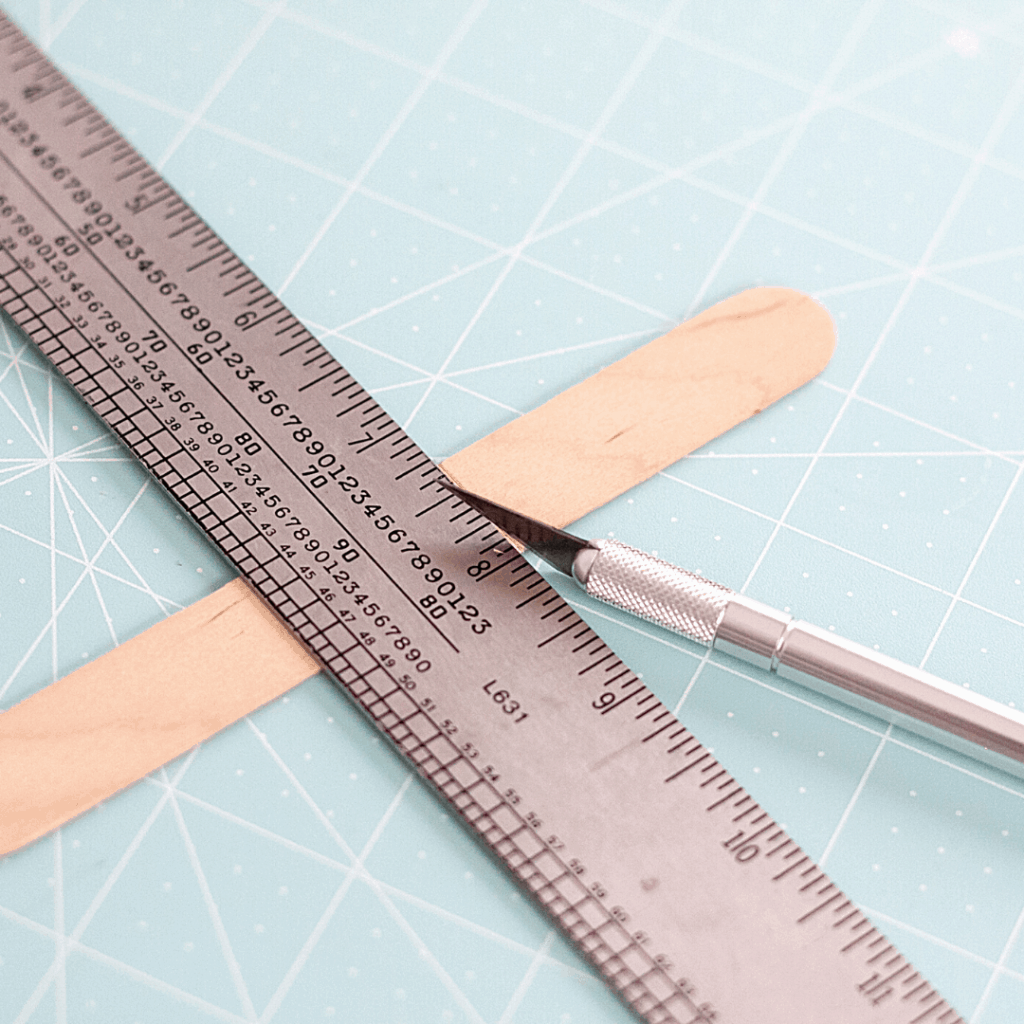
Measure, mark and cut off 2 ½” from one end of 4 craft sticks using a craft knife, a ruler and a cutting mat.
Tip: you can use a sharp scissors to cut off the ends, but be careful to not split the wood!
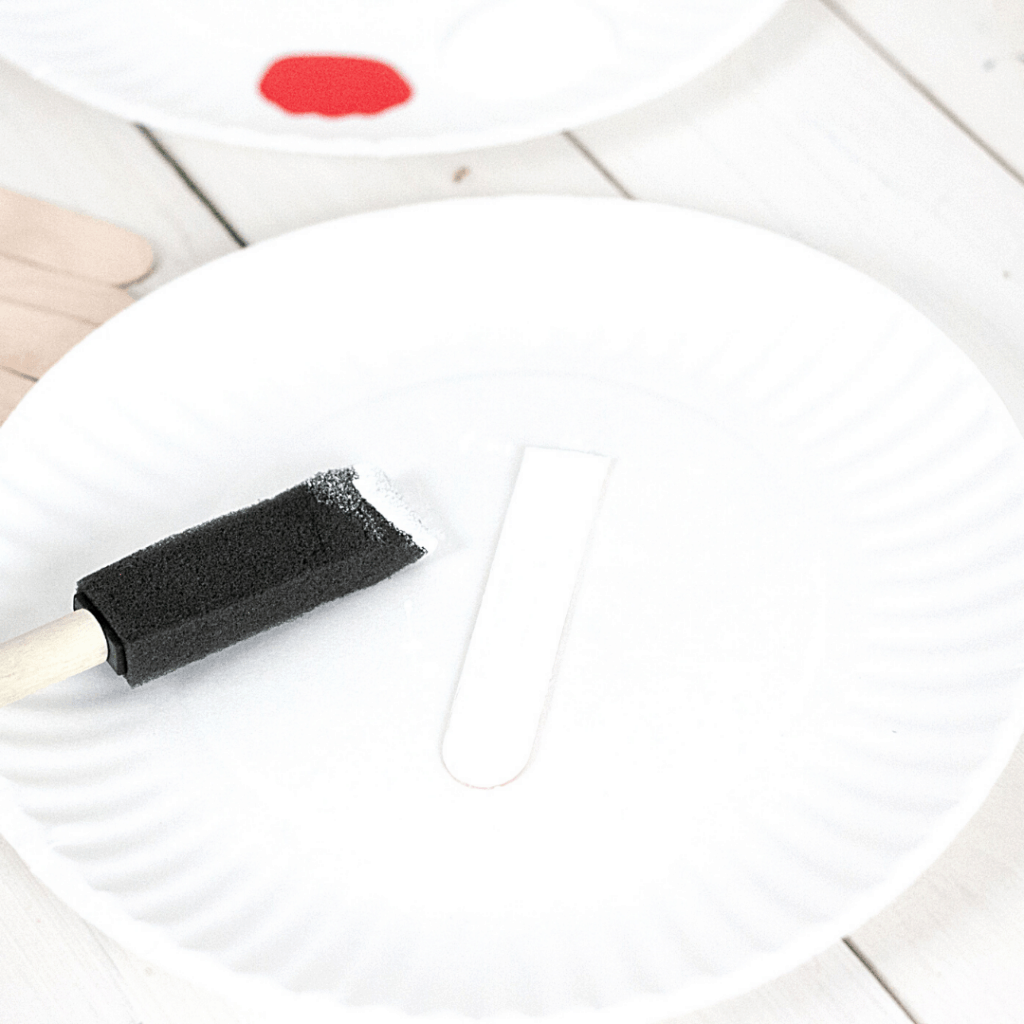
Using white paint and a foam brush (or a paintbrush) paint one side of all 4 of the craft sticks that you cut plus 4 of the whole ones; let dry.
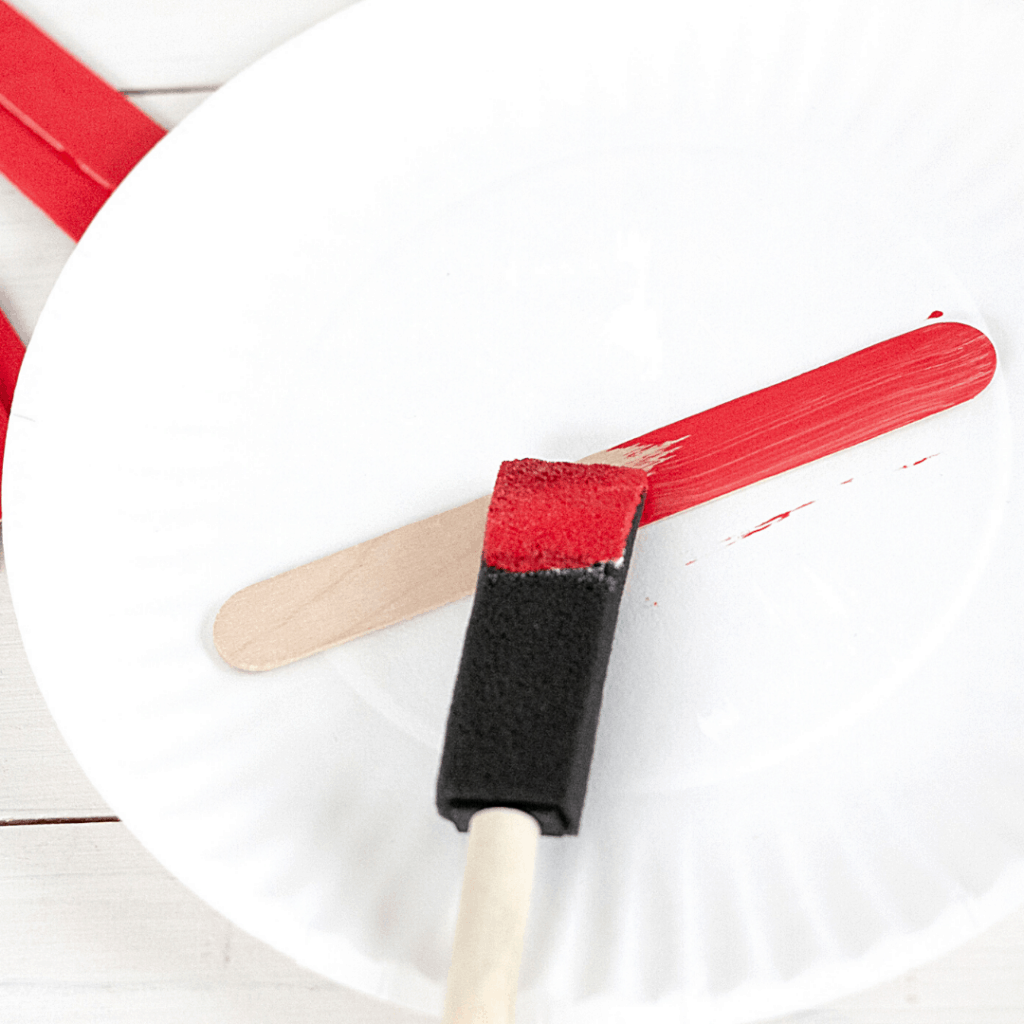
Next, paint the remaining 6 craft sticks red (you only need to paint one side); let dry.
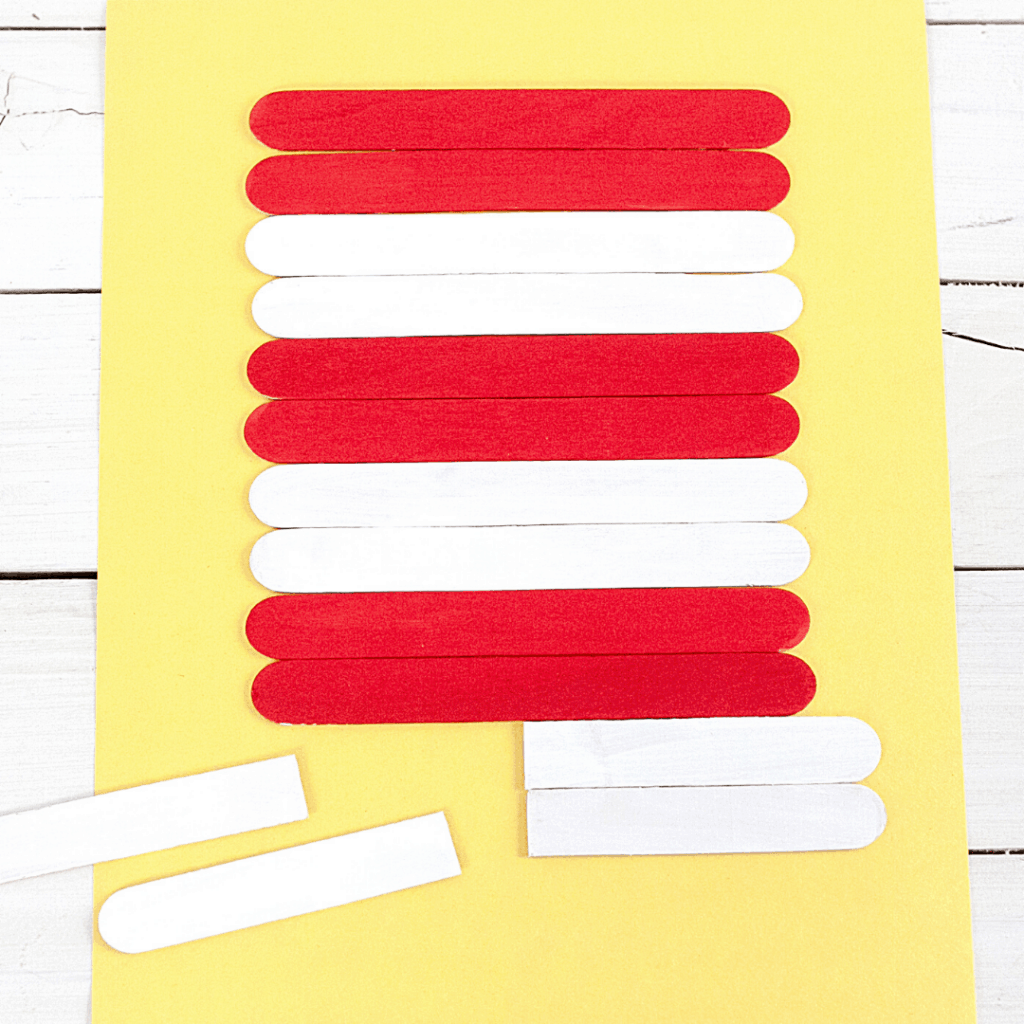
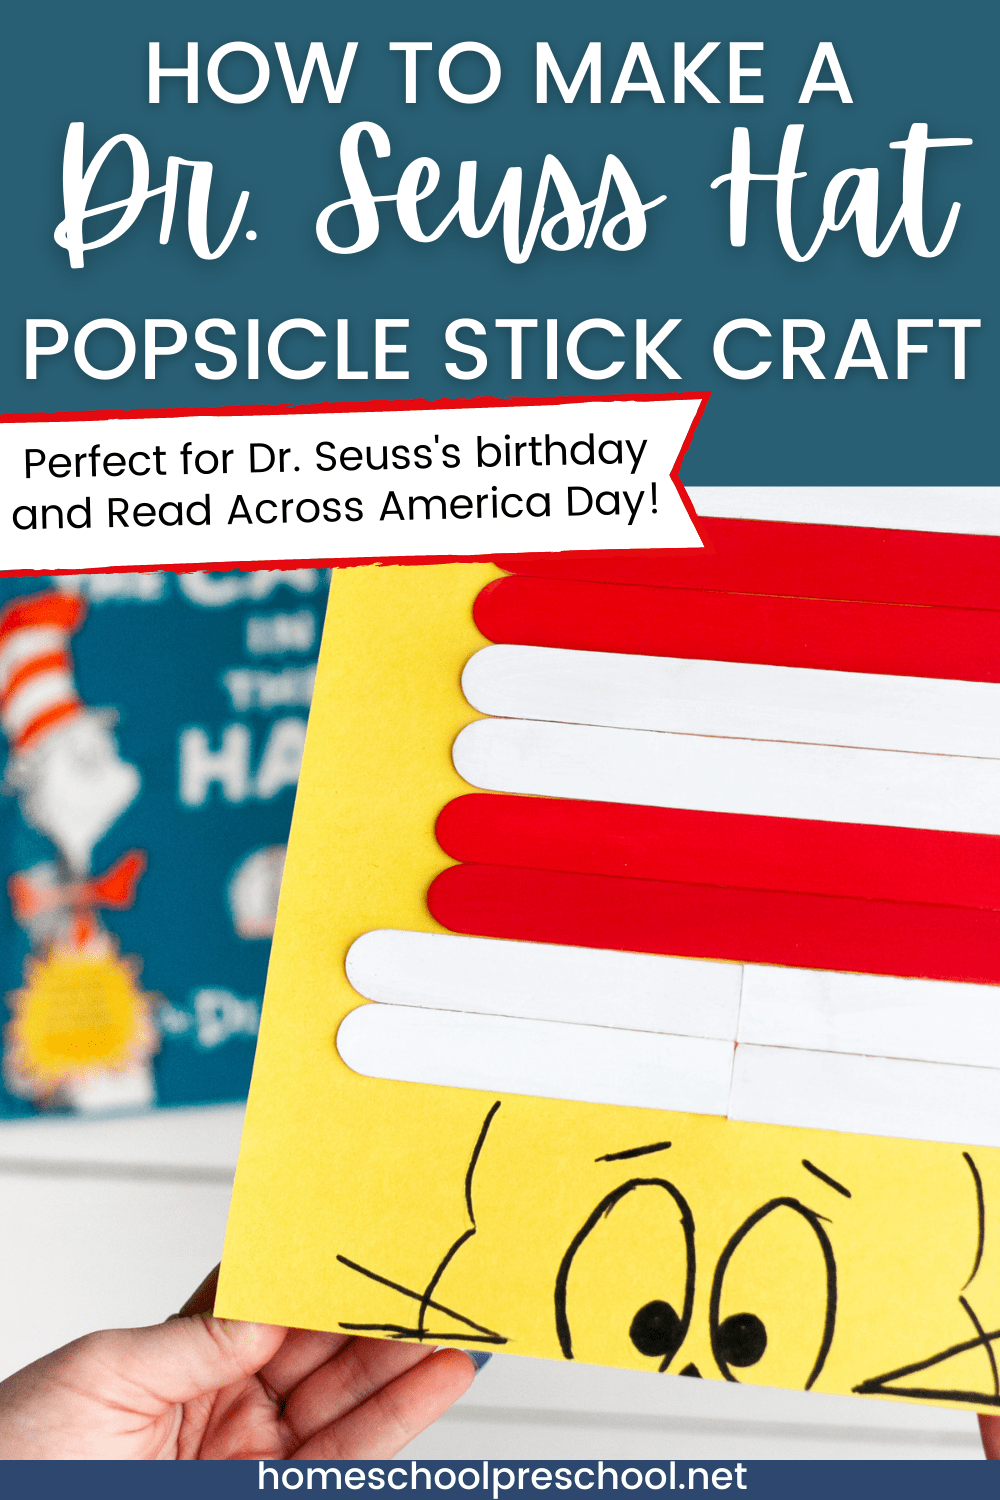
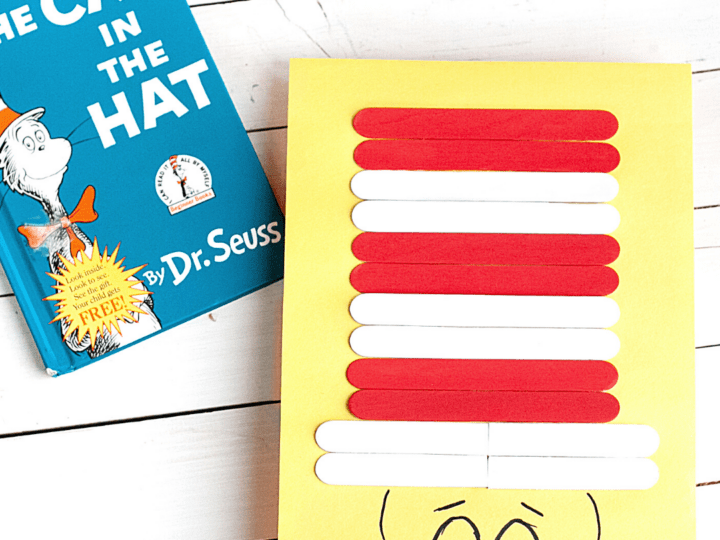
Starting about 1 ½” from the top of the construction paper, lay down the full-length painted craft sticks in this order – 2 reds, 2 whites, 2 reds, 2 whites, 2 last reds.
Then lay down all of the cut whites so the rounded ends are facing out and the cut edges touch, in two rows of two, centered on the paper.
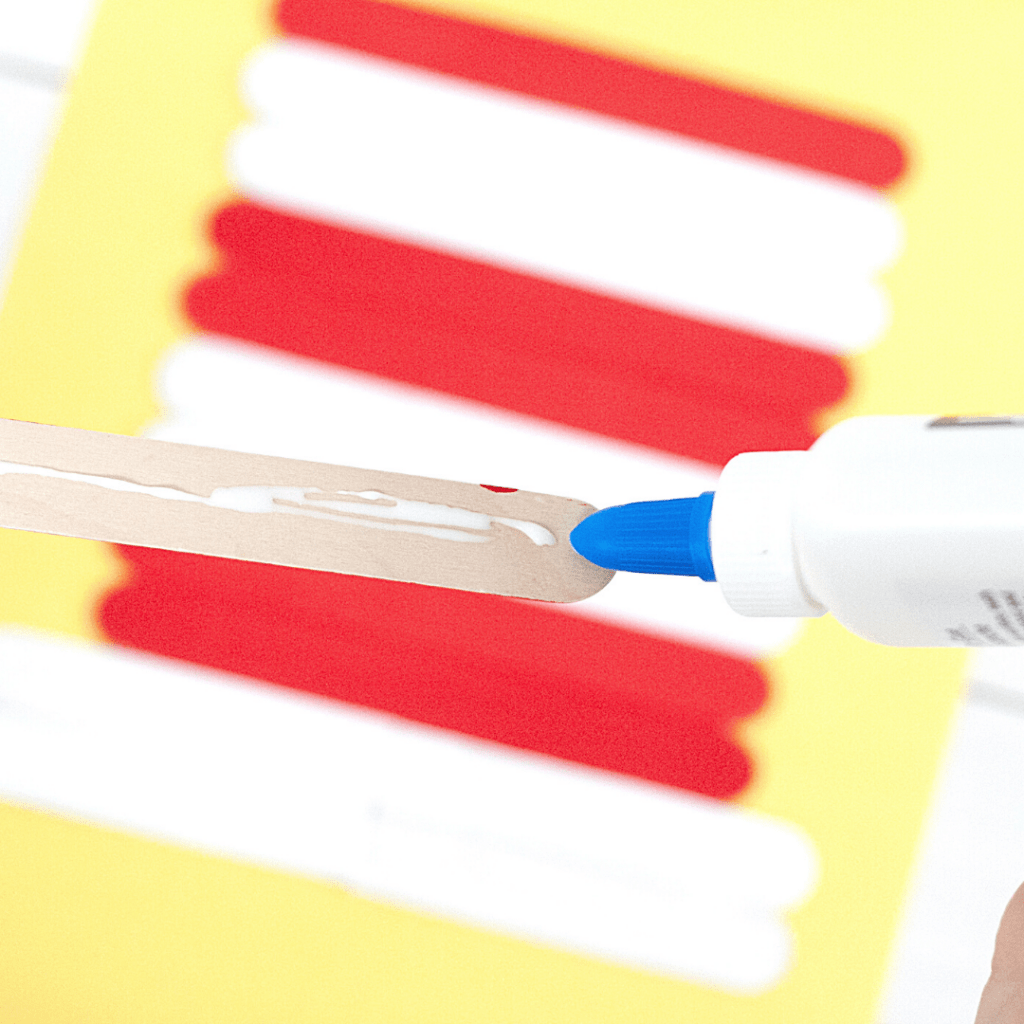
Once you’ve made your painted craft sticks into the hat shape and have it where you want it on the page, glue them down, one by one, starting at the top and moving your way down.
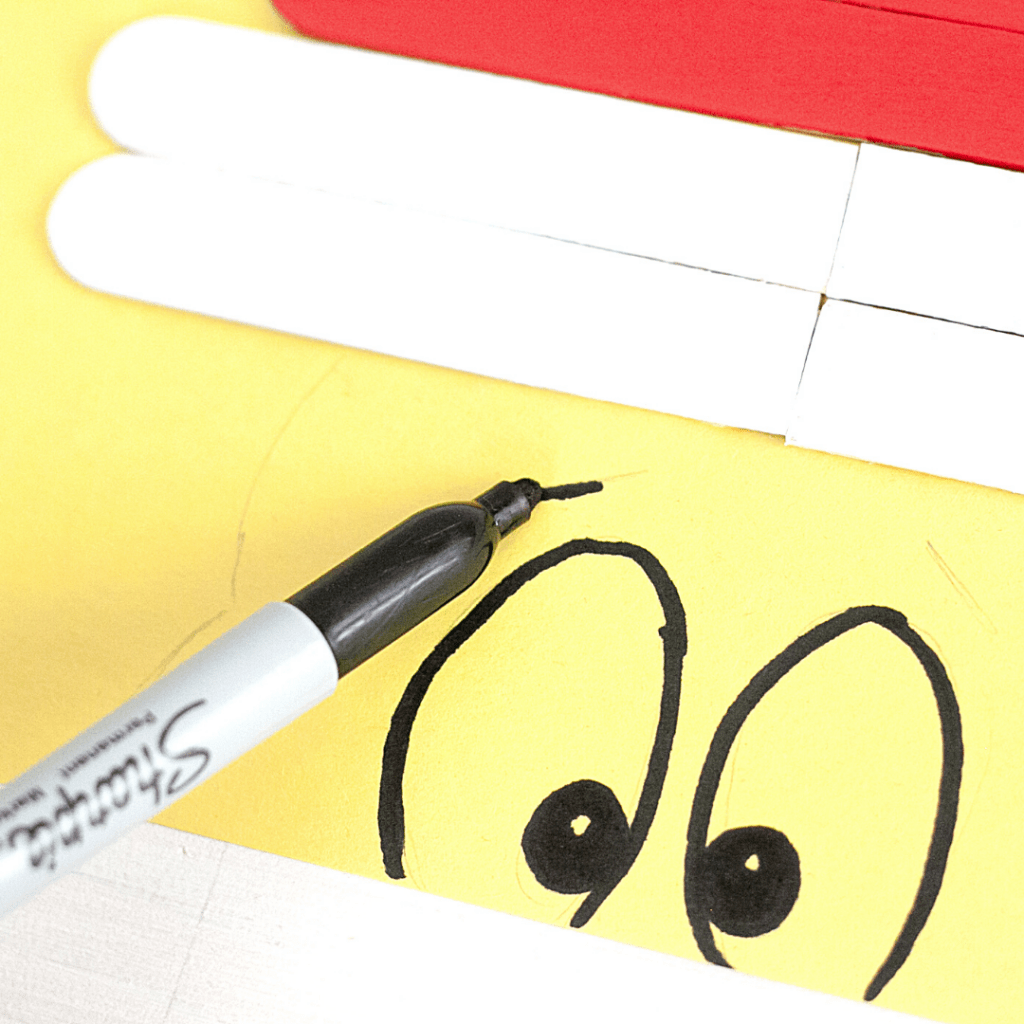
Use a pencil to draw the cat’s eyes, eyebrows, the outline of his head, the tip of his nose, and some whiskers; then trace over the pencil lines with a black Sharpie.
More Dr. Seuss Fun
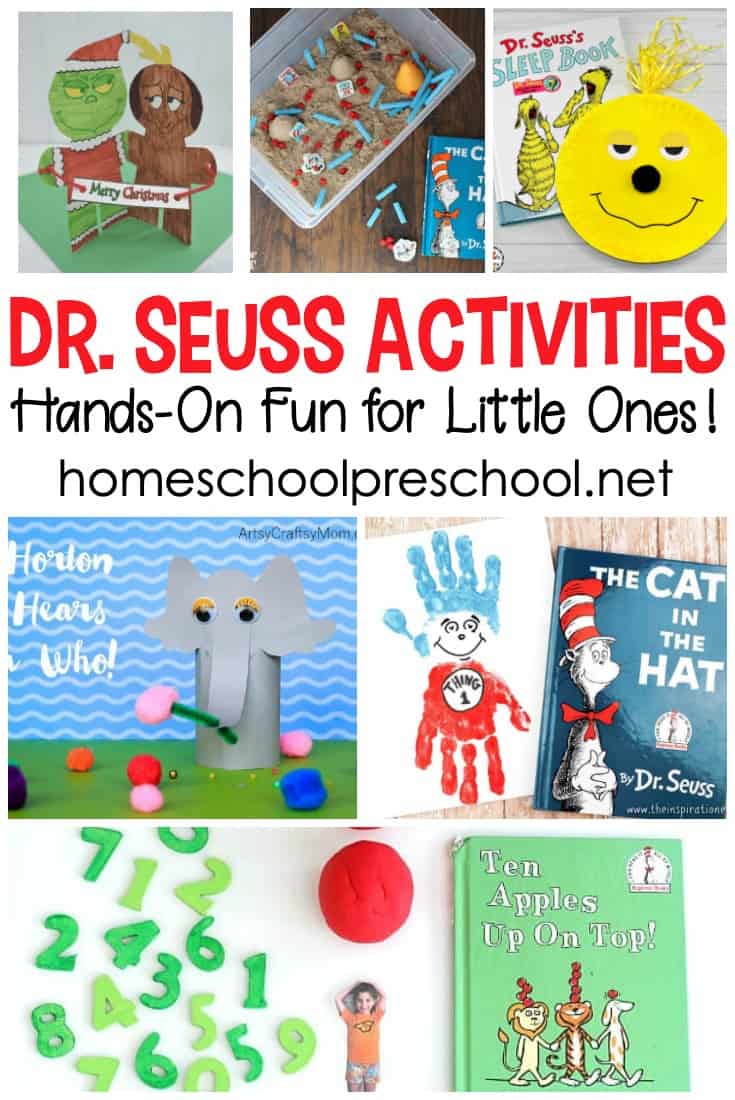
If you’re looking for more Dr. Seuss activities to do with your preschoolers, check out all of these fun ideas.
Of course, you should read one or two of your favorite Dr. Seuss books. You can grab them from the library or order them from Amazon to add to your preschool bookcase.
Your Favorite Seuss – From his very first book to his very last book, here in one big volume are 13 classic Dr. Seuss stories, everyone’s favorites. All of the words and virtually all of the illustrations are included.
Dr. Seuss’s Book of Colors – Nurture a love of reading—and of the many colorful characters created by Dr. Seuss—with this great new concept book for beginning readers
The Big Green Book of Beginner Books – The only thing better than a Dr. Seuss book is six of them in one! The easy words, engaging rhymes and bright art can turn any kid into a reader.
Need more Dr. seuss activities to do with your preschoolers? I’ve got you covered!
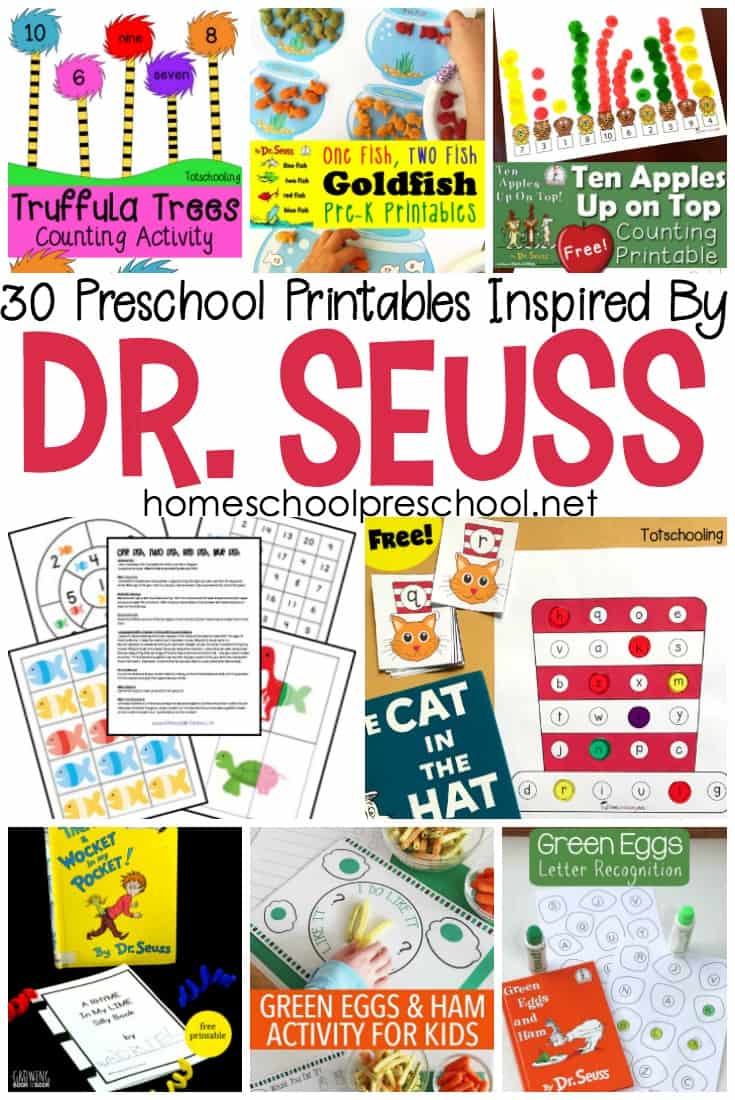
Little ones will love sitting down to learn with this Dr Seuss printable! This free preschool printable includes 17 pages of Dr. Seuss-themed learning fun!
This Dr Seuss preschool snack idea is so much fun! These Put Me in the Zoo inspired cookies are as yummy as they are cute!
Get ready for some whimsical fun with a fun and engaging Dr. Seuss I Spy Activity—a delightful challenge that encourages your little ones to sharpen their observation skills as they discover hidden treasures among the colorful and quirky world of their favorite Dr. Seuss characters!
Dr Seuss Hat Craft
Looking for a fun craft to do for Read Across America Day? Try this adorable craft stick Dr Seuss hat craft. It's so fun!
Materials
- 14 jumbo craft sticks
- craft knife
- foam brush or paintbrush
- white paint
- red paint
- construction paper
- glue
- black Sharpie
Instructions
- Measure, mark and cut off 2 ½” from one end of 4 craft sticks using a craft knife, a ruler and a cutting mat. Tip: you can use a sharp scissors to cut off the ends, but be careful to not split the wood!
- Using white paint and a foam brush (or a paintbrush) paint one side of all 4 of the craft sticks that you cut plus 4 of the whole ones; let dry.
- Next, paint the remaining 6 craft sticks red (you only need to paint one side); let dry.
- Starting about 1 ½” from the top of the construction paper, lay down the (whole length) painted craft sticks in this order - 2 reds, 2 whites, 2 reds, 2 whites, 2 last reds. Then lay down all of the cut whites so the rounded ends are facing out and the cut edges touch, in two rows of two, centered on the paper.
- Once you’ve made your painted craft sticks into the hat shape and have it where you want it on the page, glue them down, one by one, starting at the top and moving your way down.
- Use a pencil to draw the cat’s eyes, eyebrows, the outline of his head, the tip of his nose, and some whiskers; then trace over the pencil lines with a black Sharpie.
Related Posts
 |  |  |
